


About this Post
Westlake Pro is proud to welcome David Arnold to our team in Nashville. We brought some of his most popular Studio Build Blogs over to our site to give you a look at some of his previous work.
Enjoy!

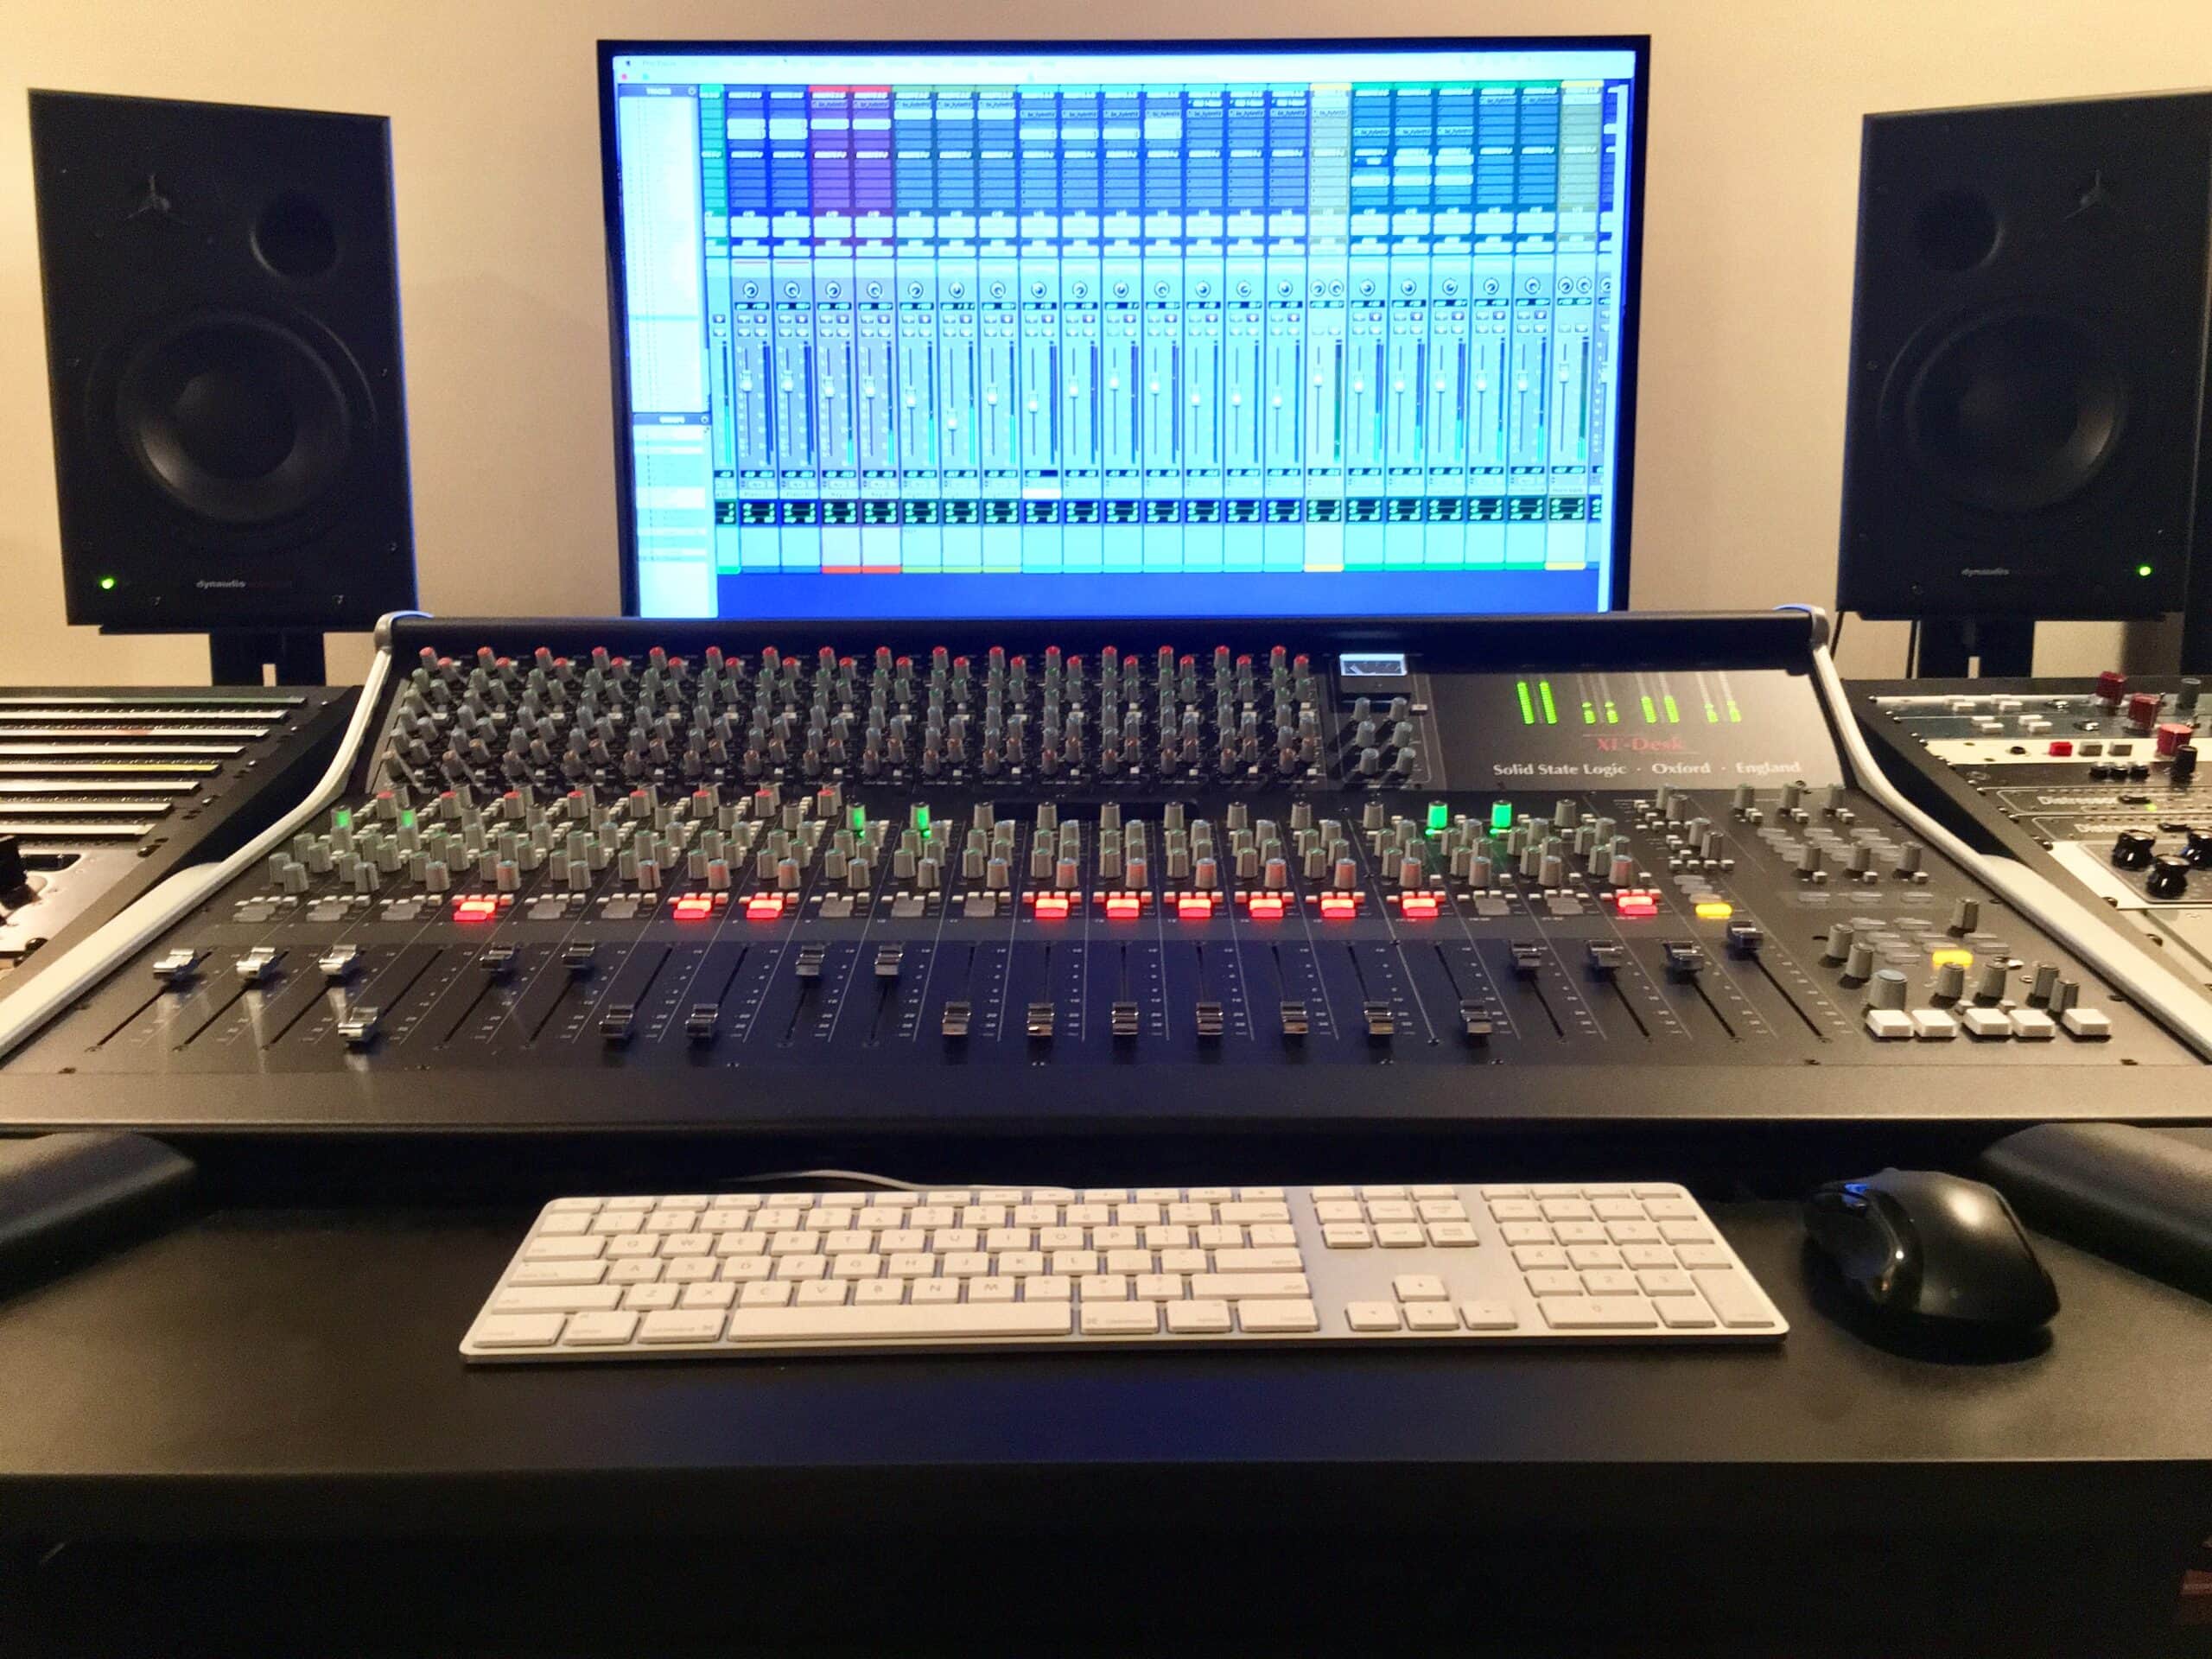
In this particular blog entry, we traveled to North Carolina to Install the Solid State Logic XL Desk for one of our customers. Along with the installation of the SSL XL Desk, the customer expanded their DAW system (Lynx Converters and Pro Tools Upgrade), invested in room acoustic panels (Real Traps), and acoustic monitor stands (Sound Anchors), and expanded their outboard compression and eq.
If you have questions about this particular installation or you’re interested in more info… feel free to Contact Us
So what makes this install different from our last SSL XL Desk install is that this XL-Desk’s new home…would be exactly in that…located in a residential home. The word home studio gets thrown around a lot these days and can have a negative connotation to it. Most audio professionals know that records can and are being made in homes these days. The need for large commercial recording spaces will always be there in my opinion but recording/mixing in your own home is convenient and having access to the great recording gear and real acoustics is more accessible than ever.
Getting Down to the Basics...or the Necessities
- Proper Acoustic Treatment
- Clean Balanced Power
We worked hand in hand with Real Traps of Wallingford, Connecticut on a design that would best fit the customer’s room where the SSL XL Desk would be installed. We installed a total of 24 Real Trap Acoustic Traps:
- (4) Mondo Trap 2x4x4
- (7) Micro Trap 2x4x1
- (3) Mini Trap HF 2x4x2
- (8) Mini Trap 2x4x2
- (2) Mini Trap 2x2x2


This is about the 5th time I have installed Real Traps for customers of ours. You can literally hear the room start to tighten up as each panel goes in. Real Traps panels are built for life and you can see that close up.

Below: The stand option is great. Leave the stands close to the walls when you mix and pull them forward if you are doing overdubs in the control room. You can raise and lower the panels on the stands to create temporary gobos to surround performers or create a temporary vocal enclosure.

Stabilize and Customize your monitor position...
Sound Anchors are the only thing you need to do just this. What your monitors sit on directly effect how well they perform in your room.
We installed a set of Sound Anchors ADJ-1 44″ Monitors Stands (Dynaudio BM15a Active Studio Monitors were the choice for monitors for the room). Sound Anchors are commercial grade monitors stands and are hand crafted in the US in Palm Bay, FL.

ADJ1’s are made of a large section of square steel tubing and aluminum plate (the speaker platform is made of 1/4″ thick aluminum, which reduces the amount of energy that gets transferred into the stand). They have a welded construction which makes them strong, rigid, and stable. They are spiked at the floor to anchor your monitors in place. We additionally installed Sound Anchors Conecoasters since these were on a tile floor (Conescoasters not only help maneuver your stands into place on tile or hardwood floors but can improve the performance of sound anchors stands). The stands are pre-filled using Sound Anchor’s proprietary methods and materials to eliminate resonance and add mass. Once assembled, the ability to tilt the speaker platforms to your ideal position is what makes these stands the standard.
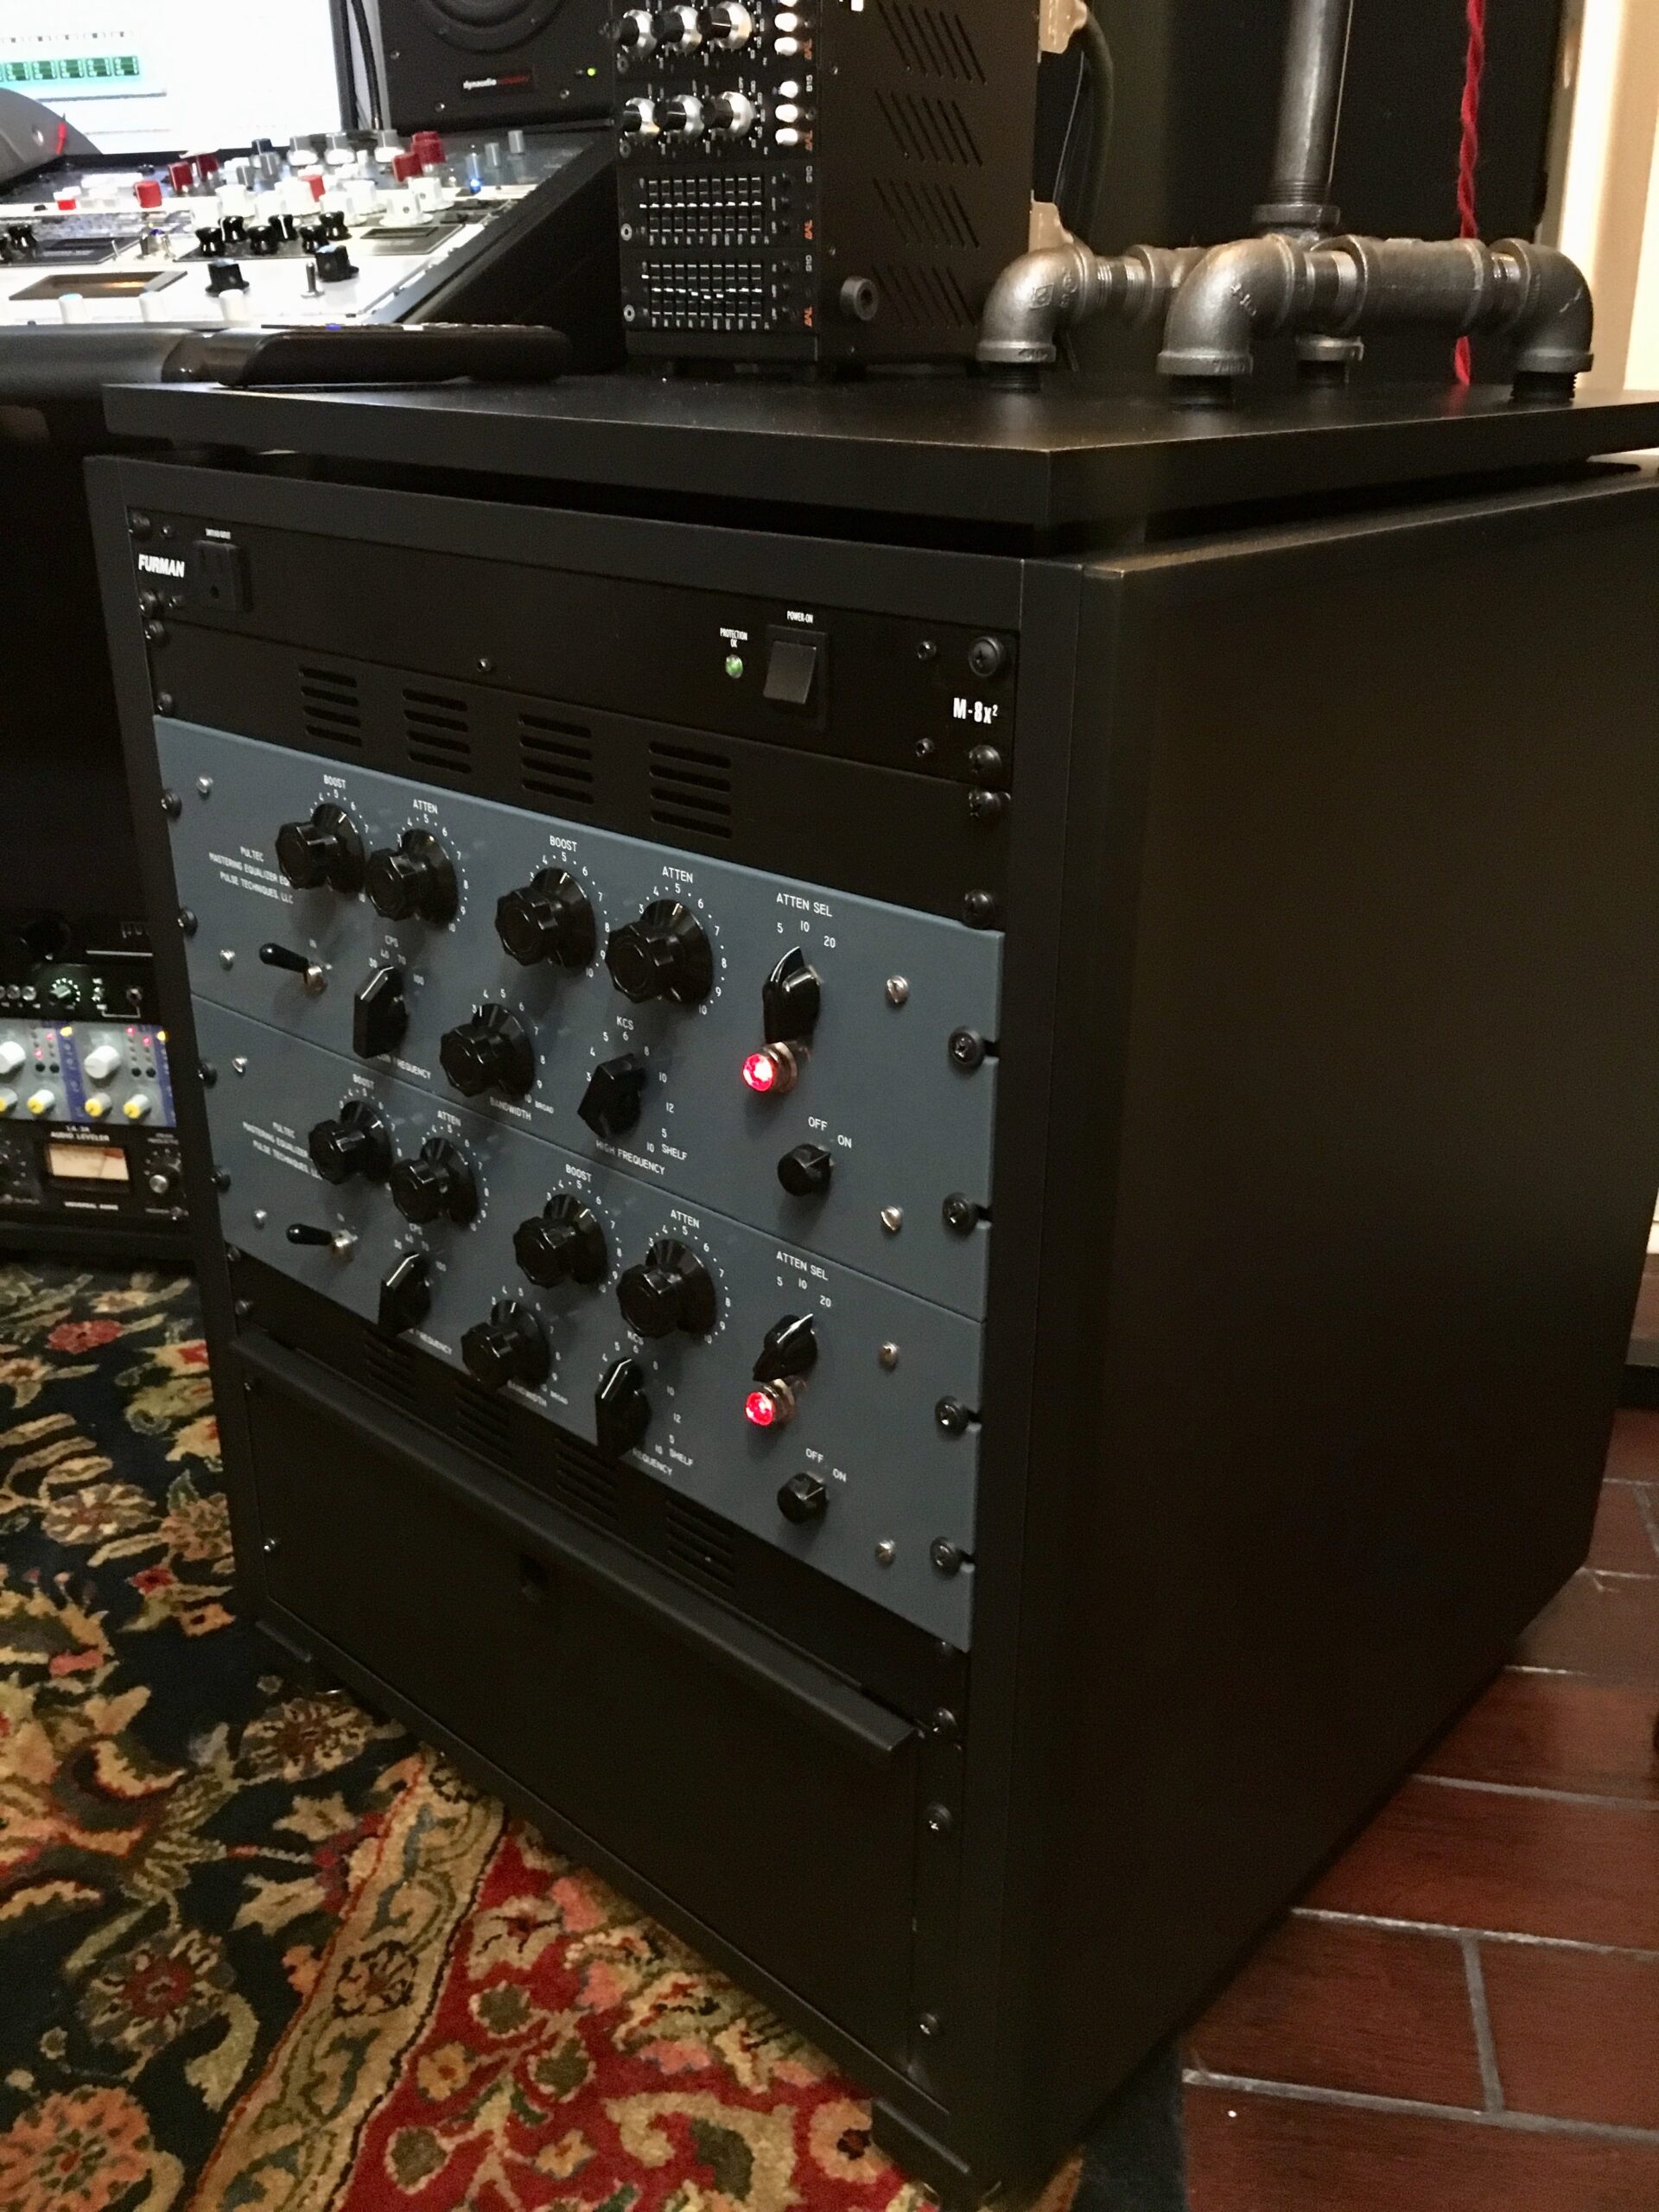
Clean Balanced Equi=Tech Power
Lastly…an Equitech Model-Q Balanced Power Unit would take care of all the power needs. Equitech is considered to be the grand-father of balanced power. The Model Q is their flag ship unit in their rackmount series. Popular not only amongst audio professionals but audiophile enthusiast as well.
This customer decided on the Model Q version instead of the Son of Q version. I will say the Equitech Son of Q is more than adequate for most home studios.


Look at the size of this transformer in the Equitech Model Q 2R

The room is all cleared out and ready for the next step…Acoustics, Power, and Monitor Stands in place.
Sterling Modular SSL XL-Desk Plan B Mixer Conversion: SSL XL Desk - Installation Part 2
So the customer chose the Sterling Modular SSL XL-Desk Plan B Mixer Conversion to hold the SSL XL-Desk. The Sterling Modular desk is shipped in individual packages on a pallet skid via freight truck. It weighed in around 300 lbs. You can tell there is a lot of care put into the packaging and shipping of these desks. All the panels are packed tight in form-fitting styrofoam packaging. Everything showed up in perfect condition.
Putting it all together…
Putting together Sterling Modular furniture is a breeze. I have put a couple of Sterling Modular desks together in the past, and this one was no different. Instructions and parts provided were very straightforward, and I had it assembled within a couple of hours. (Also, I was able to put 98% of the desk together by myself, but there was a portion of the install that did require an extra set of hands)
I love that not only do Sterling’s desks look great and are ergonomically designed, but they are one of the only studio furniture companies that design with acoustics in mind as well.
Sterling Modular uses an “Open Architecture” Skeleton, Low Profile, Angular Design.

Fill up the Racks...
So this is the fun part of the job for sure. The patch bays would be the first to go in the Sterling Modular top left racks… So let’s talk about which patch bays we used, why, and our settings for this particular system.
Between the SSL XL Desk, outboard gear, converters…etc…we had around 360 points we needed to cover. We outfitted the customer with (4) Audio Accessories DB25 96 Point TT Bays. This would give the customer a little grow room.
Audio Accessories DB25 Bays are a perfect solution for most hybrid systems out there these days.
We have sold quite a bit of these over the years and they are our first choice for most systems we outfit/install. I went ahead and pre-labeled and pre-configured Normalling and Grounding switches on the bay before arriving for the install.
(I really try to do as much Pre-Install work I can before I show up for installations. It saves a ton of time on site. The layout of the patch bay/signal flow of the bay is designed around what best suits that particular customer and their gear)
The majority of this patchbay is Half-Normalled with a few exceptions of some channels being
Full-Normalled or just Isolated. The grounds on the bay are isolated except for the Mic Pre section where the Grounds have been Vertically-Strapped (GVS).
Even though Audio Accessories patch bays are pricier compared to other standard solder 96 point bays…the expandability and versatility of these bays are well worth the money. They absolutely make sense for hybrid systems these days due to their DB25 Connectivity.
***I will make it clear though that there are definitely situations where soldered point-to-point bays make way more sense…especially when you start talking large format console installs and more fixed permanent facilities.

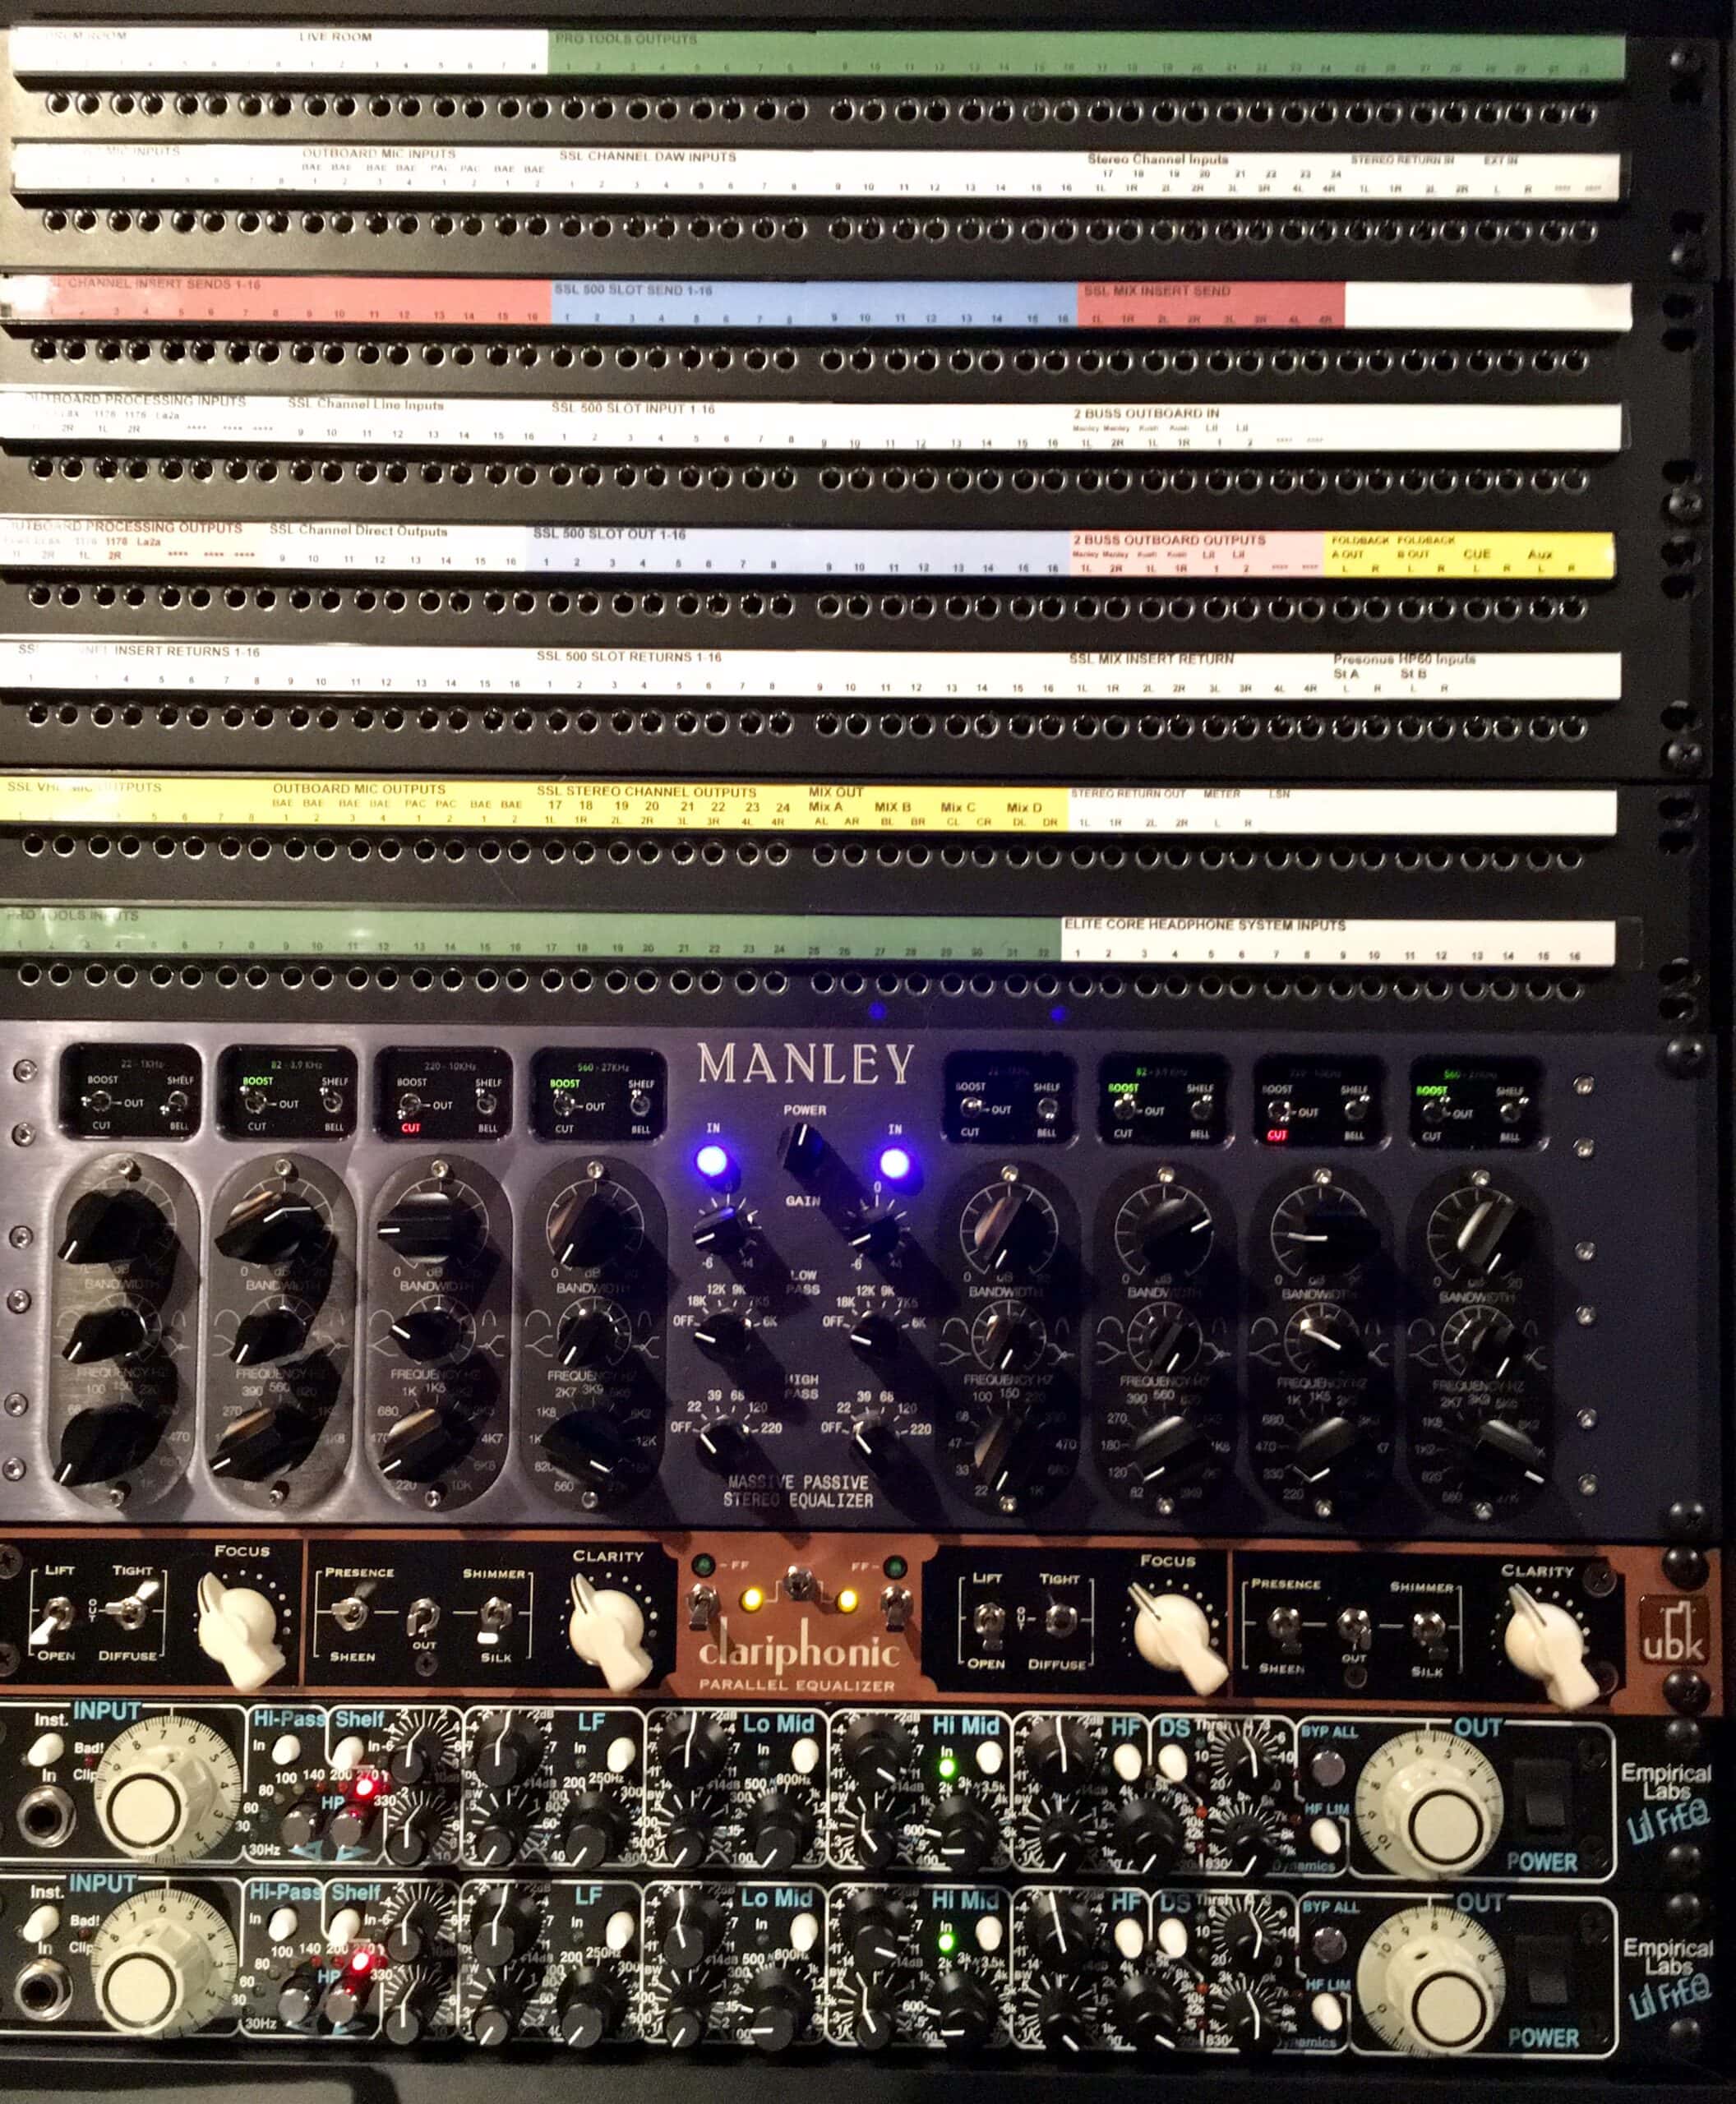
Above: Here you can see (4) Audio Accessories DB25 96 Point TT Bays and the first pieces of outboard gear are going in

From The Top:
- (4) Audio Accessories DB25 Patchbays
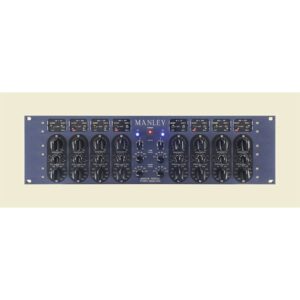
- Manley Massive Passive Stereo Eq
- Kush Audio Clariphonic
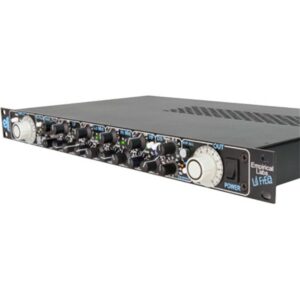
- (2) Empirical Labs Lil FreQ Eq

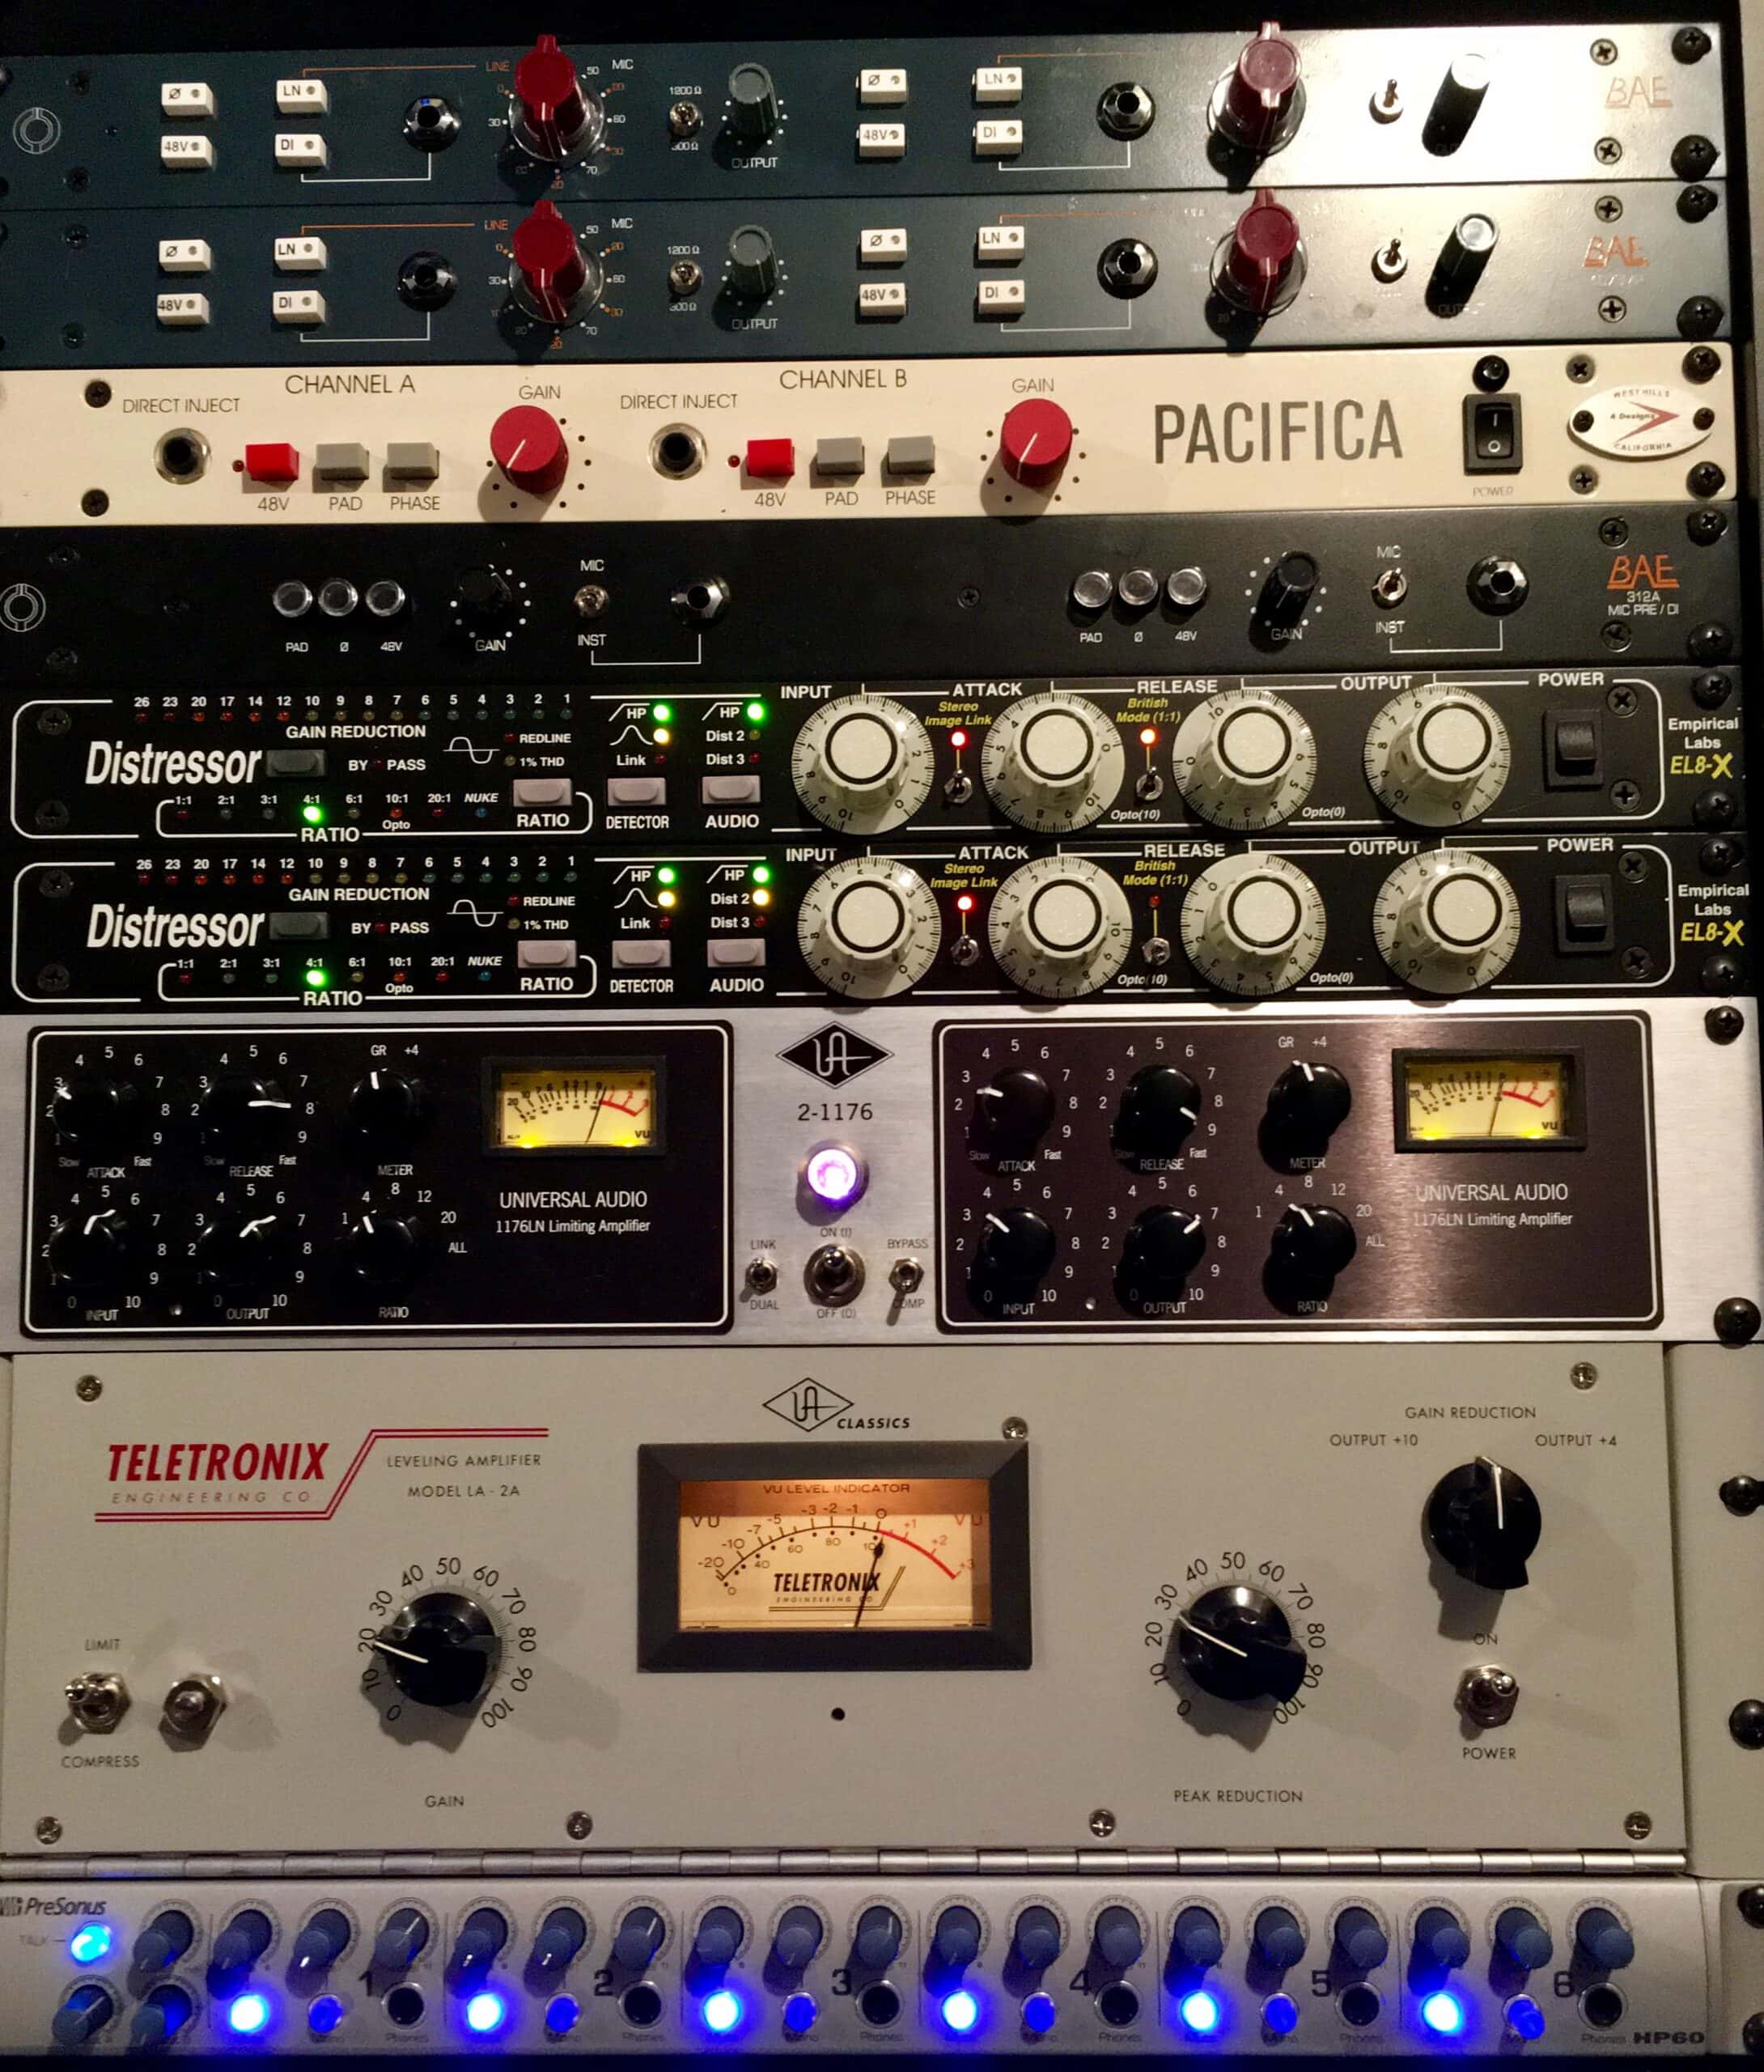
Above: BAE Audio and A Designs Mic Preamps going in.
From the Top:
- (2) BAE Audio Dual 1073 MP
- BAE Audio Dual 312A
- A Designs Pacifica
- (2) Empirical Labs EL8X
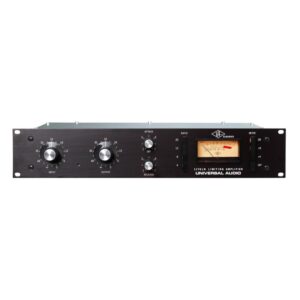
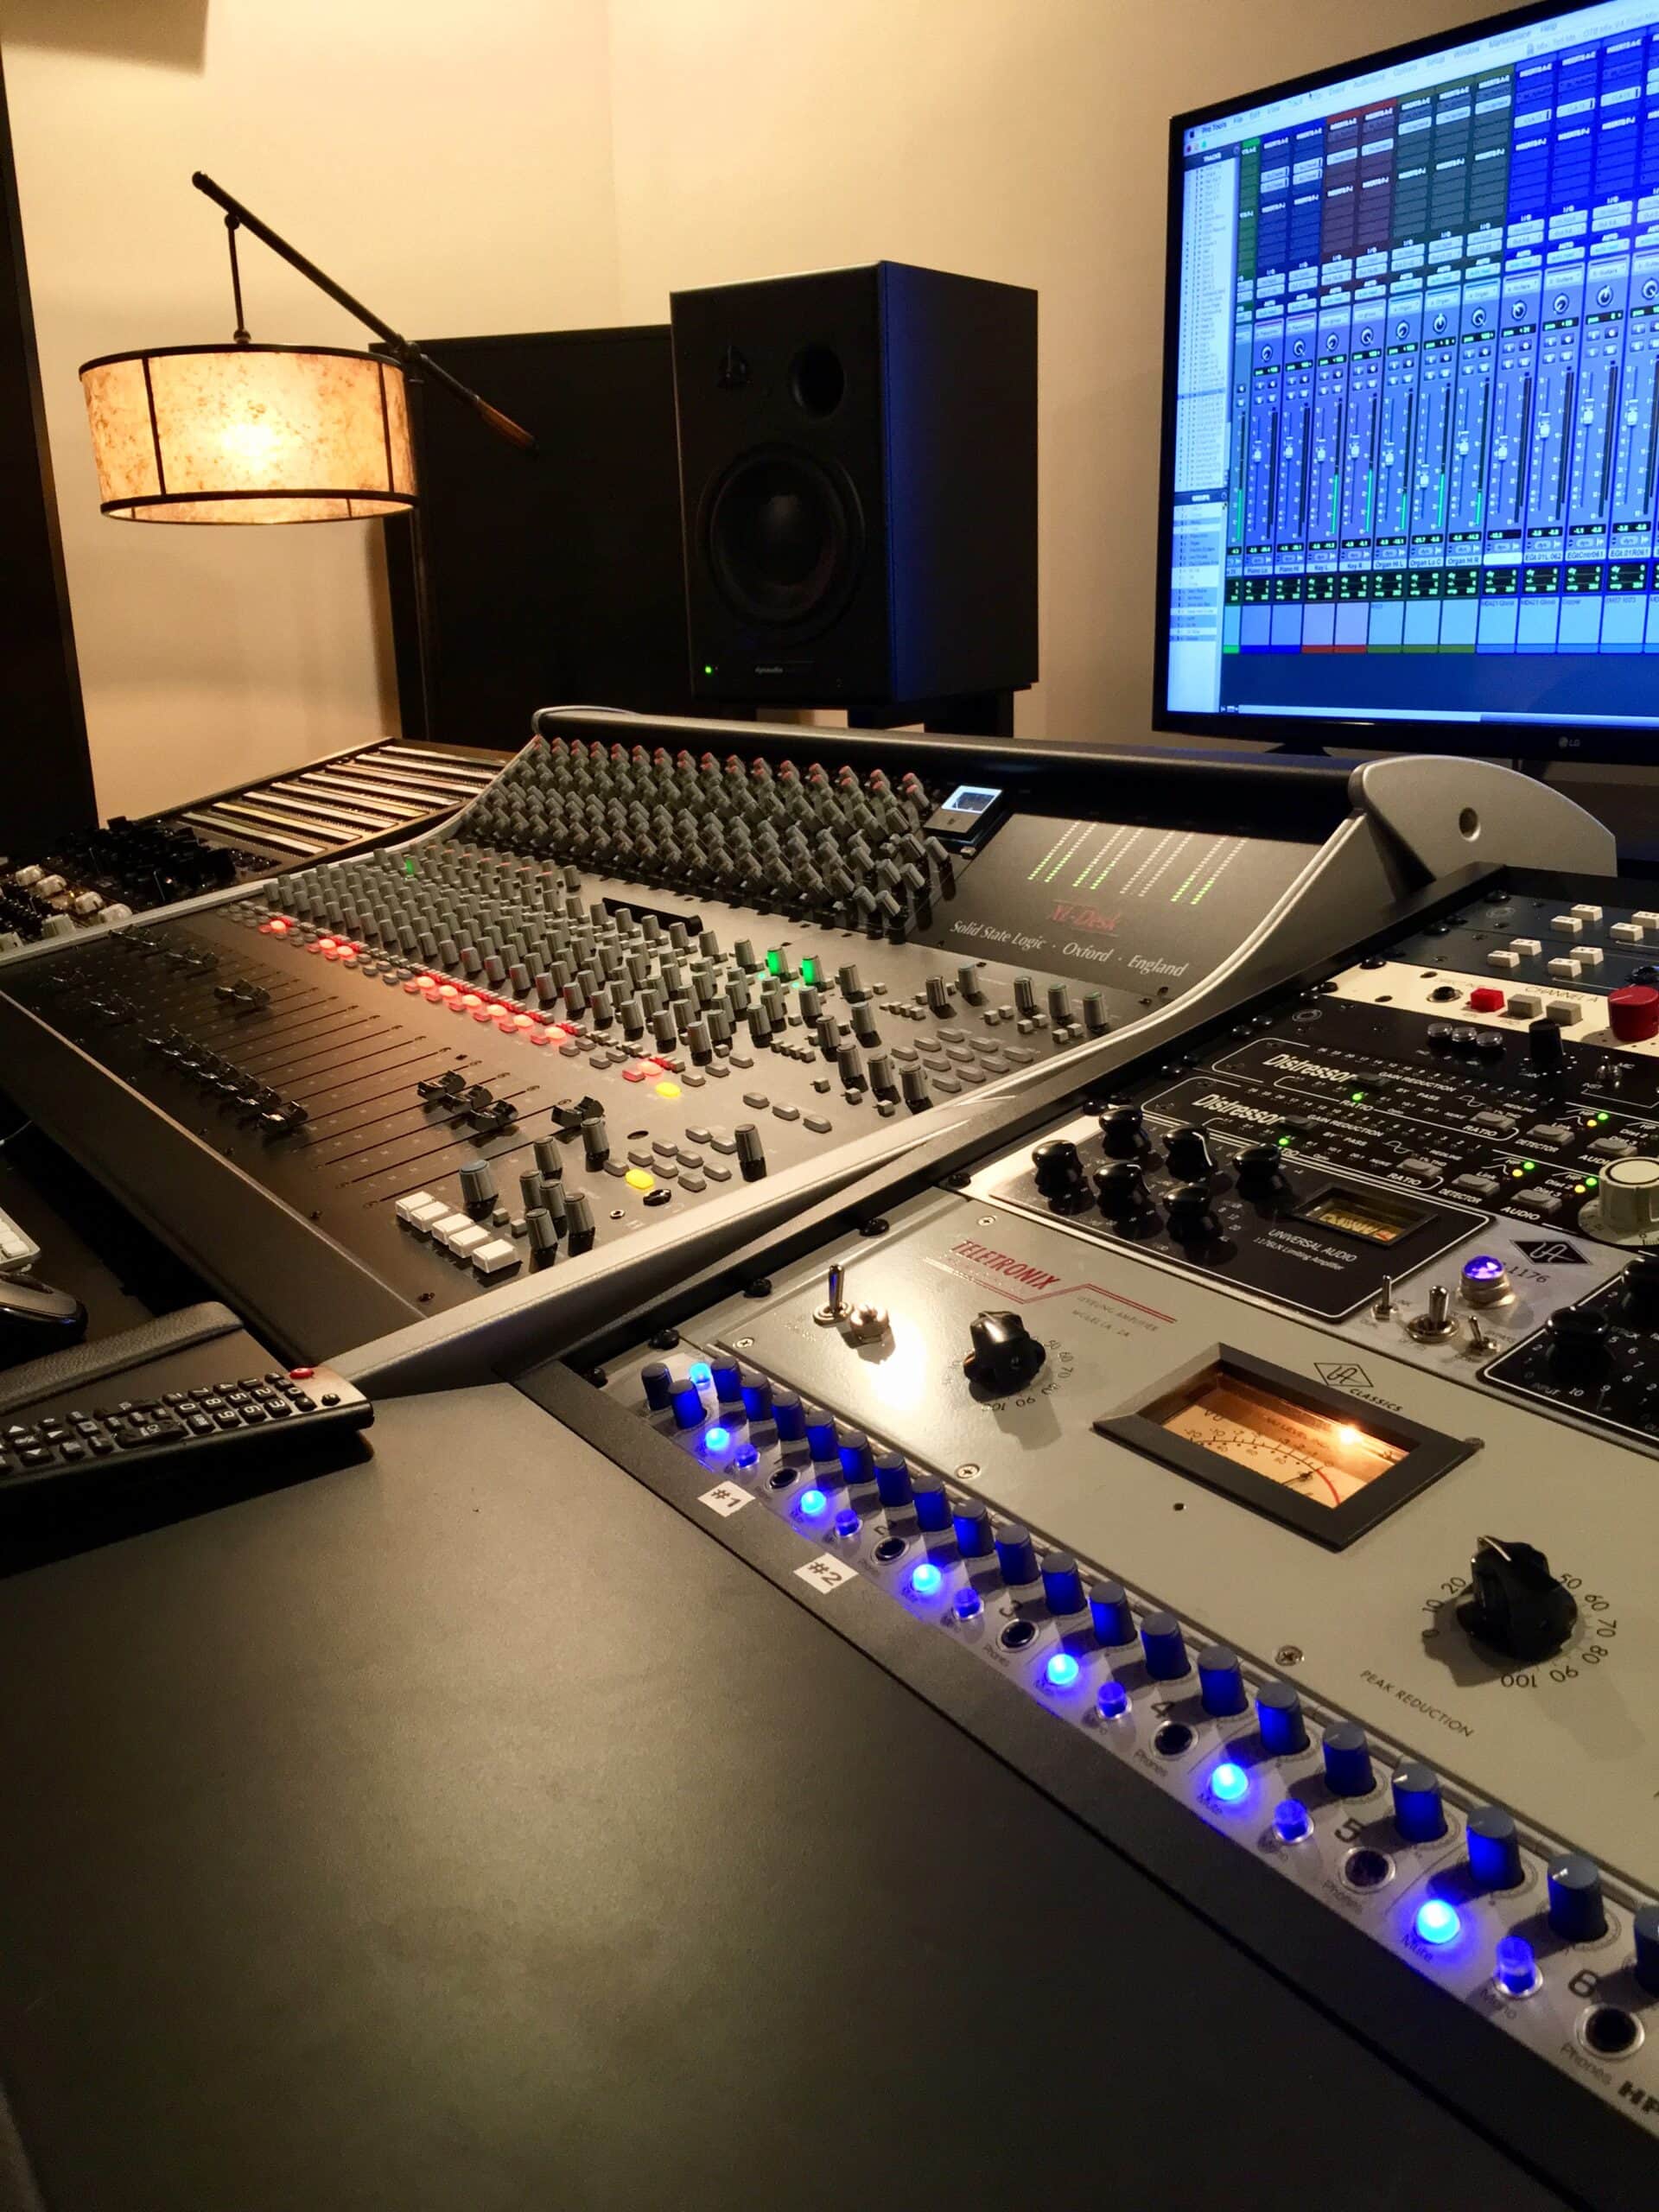
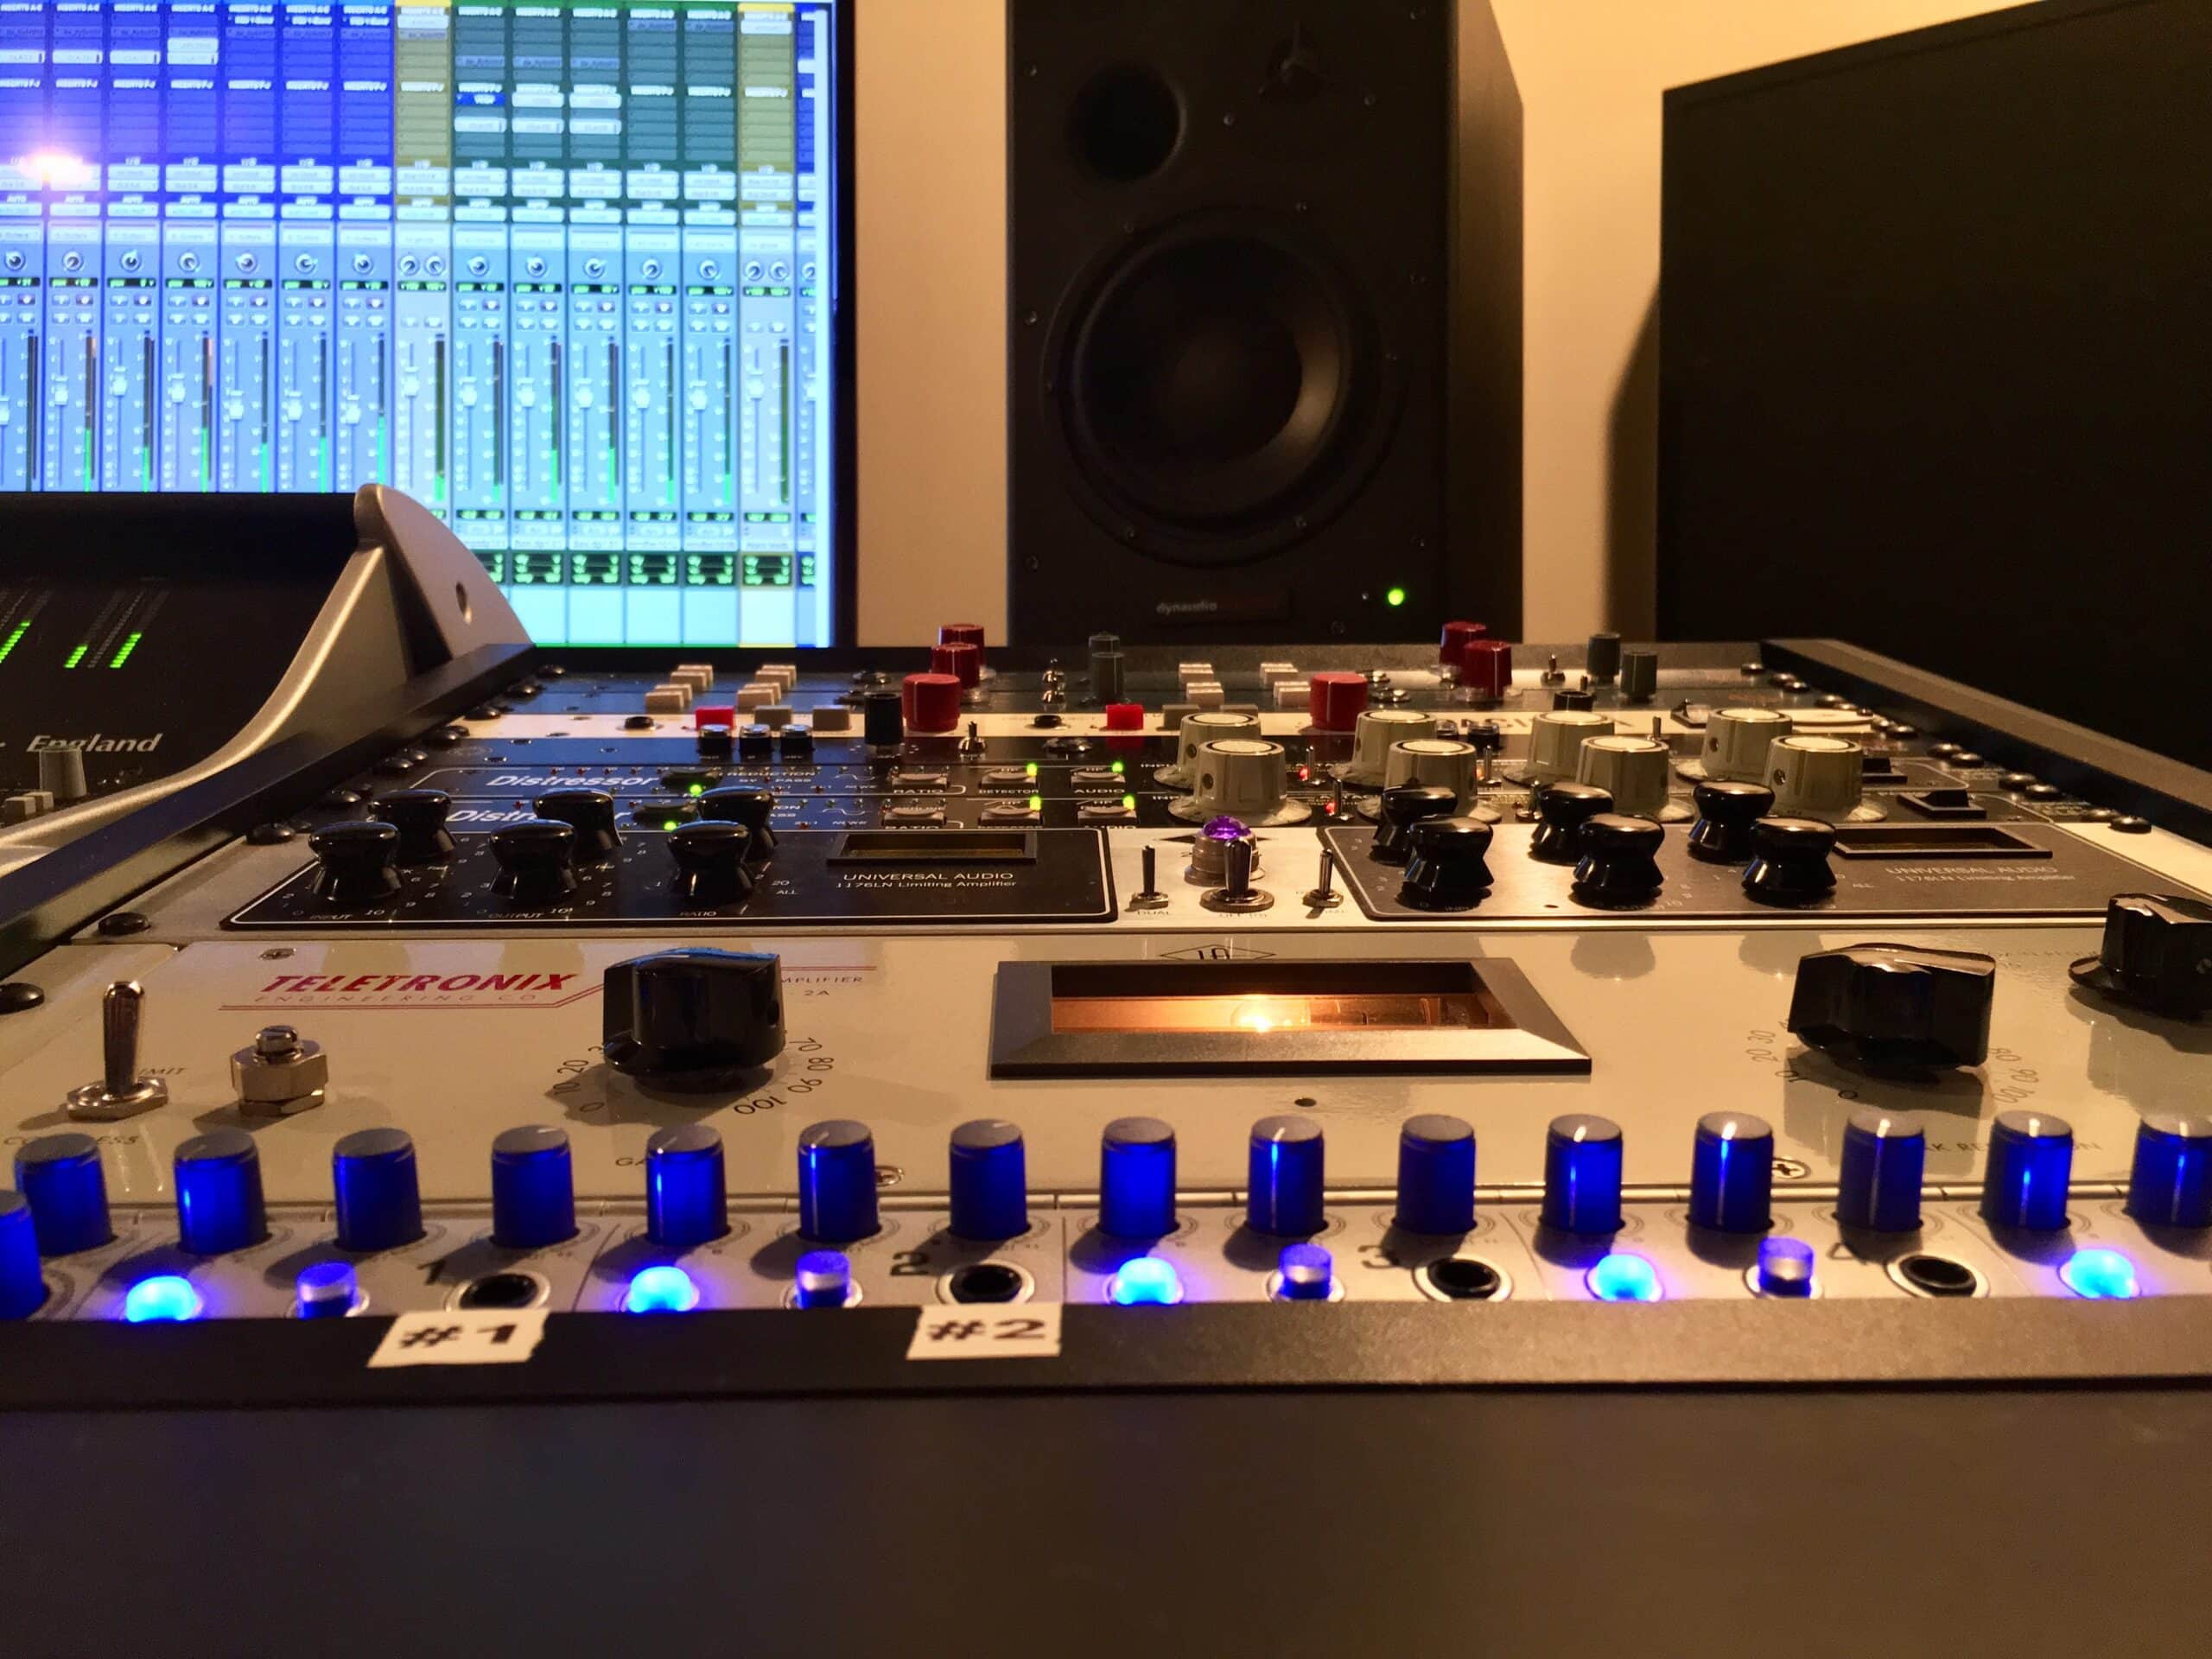
- Universal Audio 2-1176
- Universal Audio LA-2A


Wire Time!
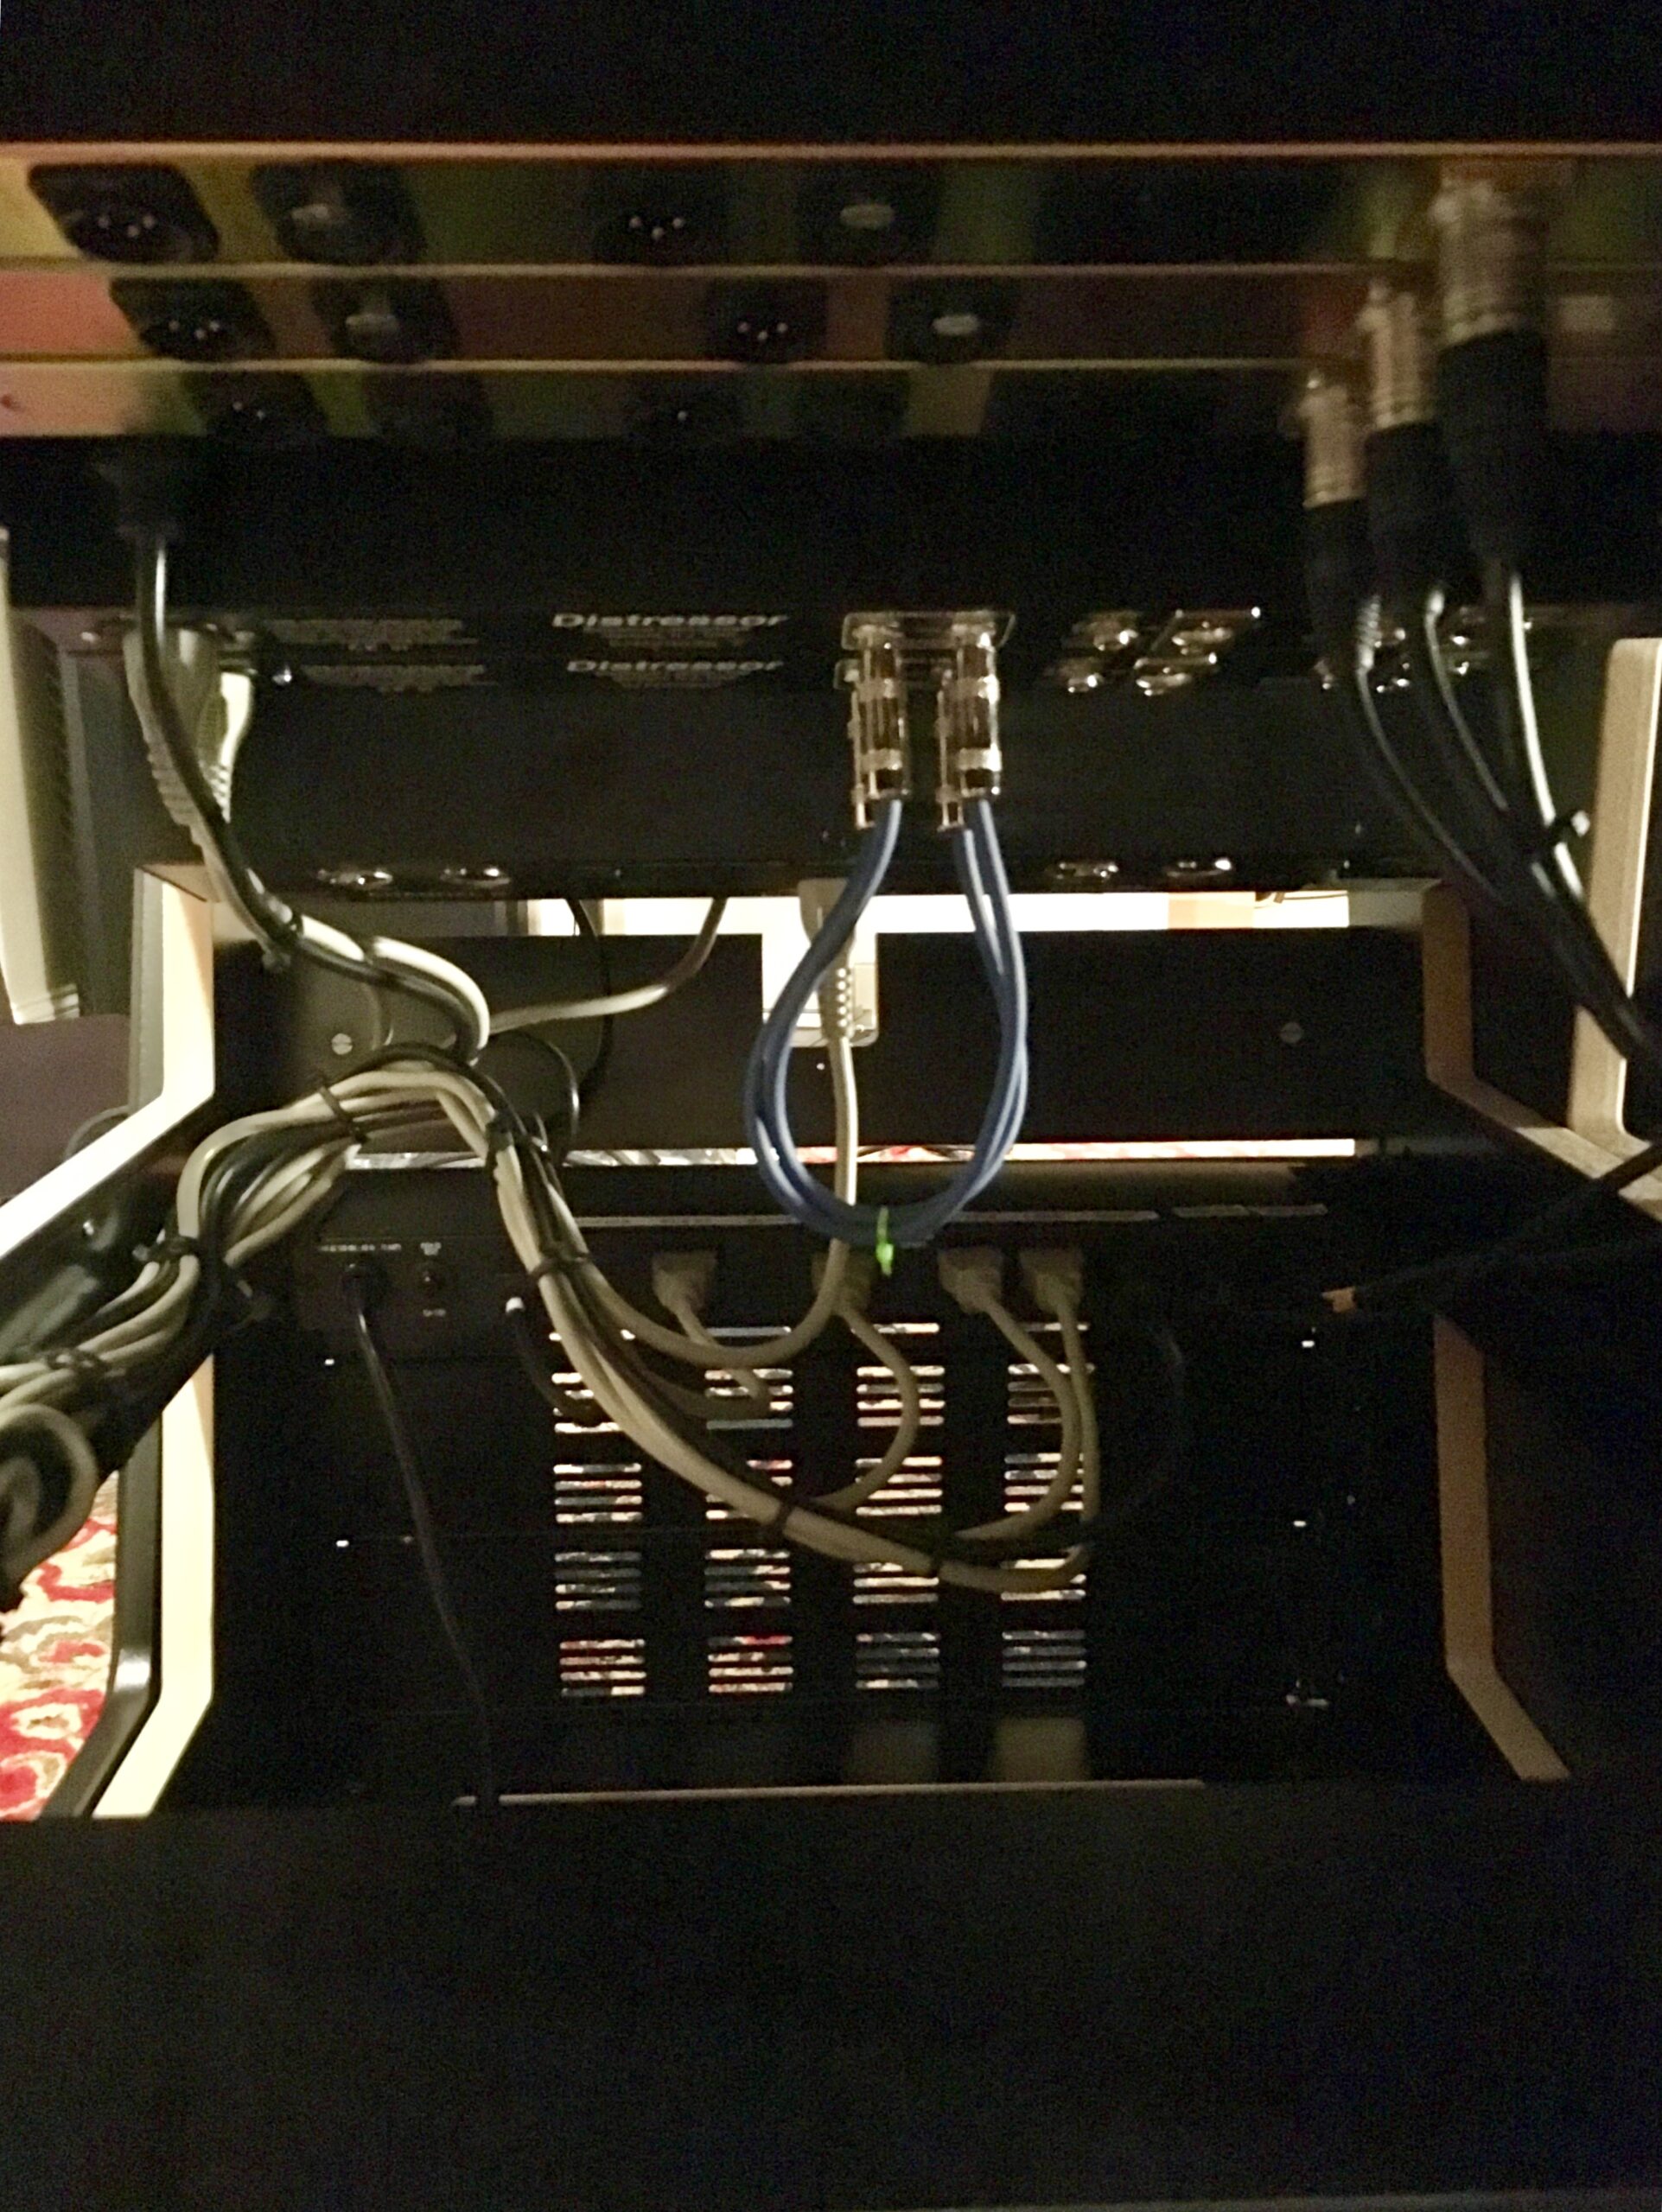
So below are a couple of shots of behind the racks before I start running cabling. I always run power first before run any audio cabling.
Behind Left Rack
Above: Behind Left Rack after IEC power cables installed
Behind Right Rack after power IEC cables installed. (The blue cabling are for Stereo-Linking the Empirical Labs EL8X Pair and the XLR cables in the Top Right are the power supply cabling for the BAE Preamps)
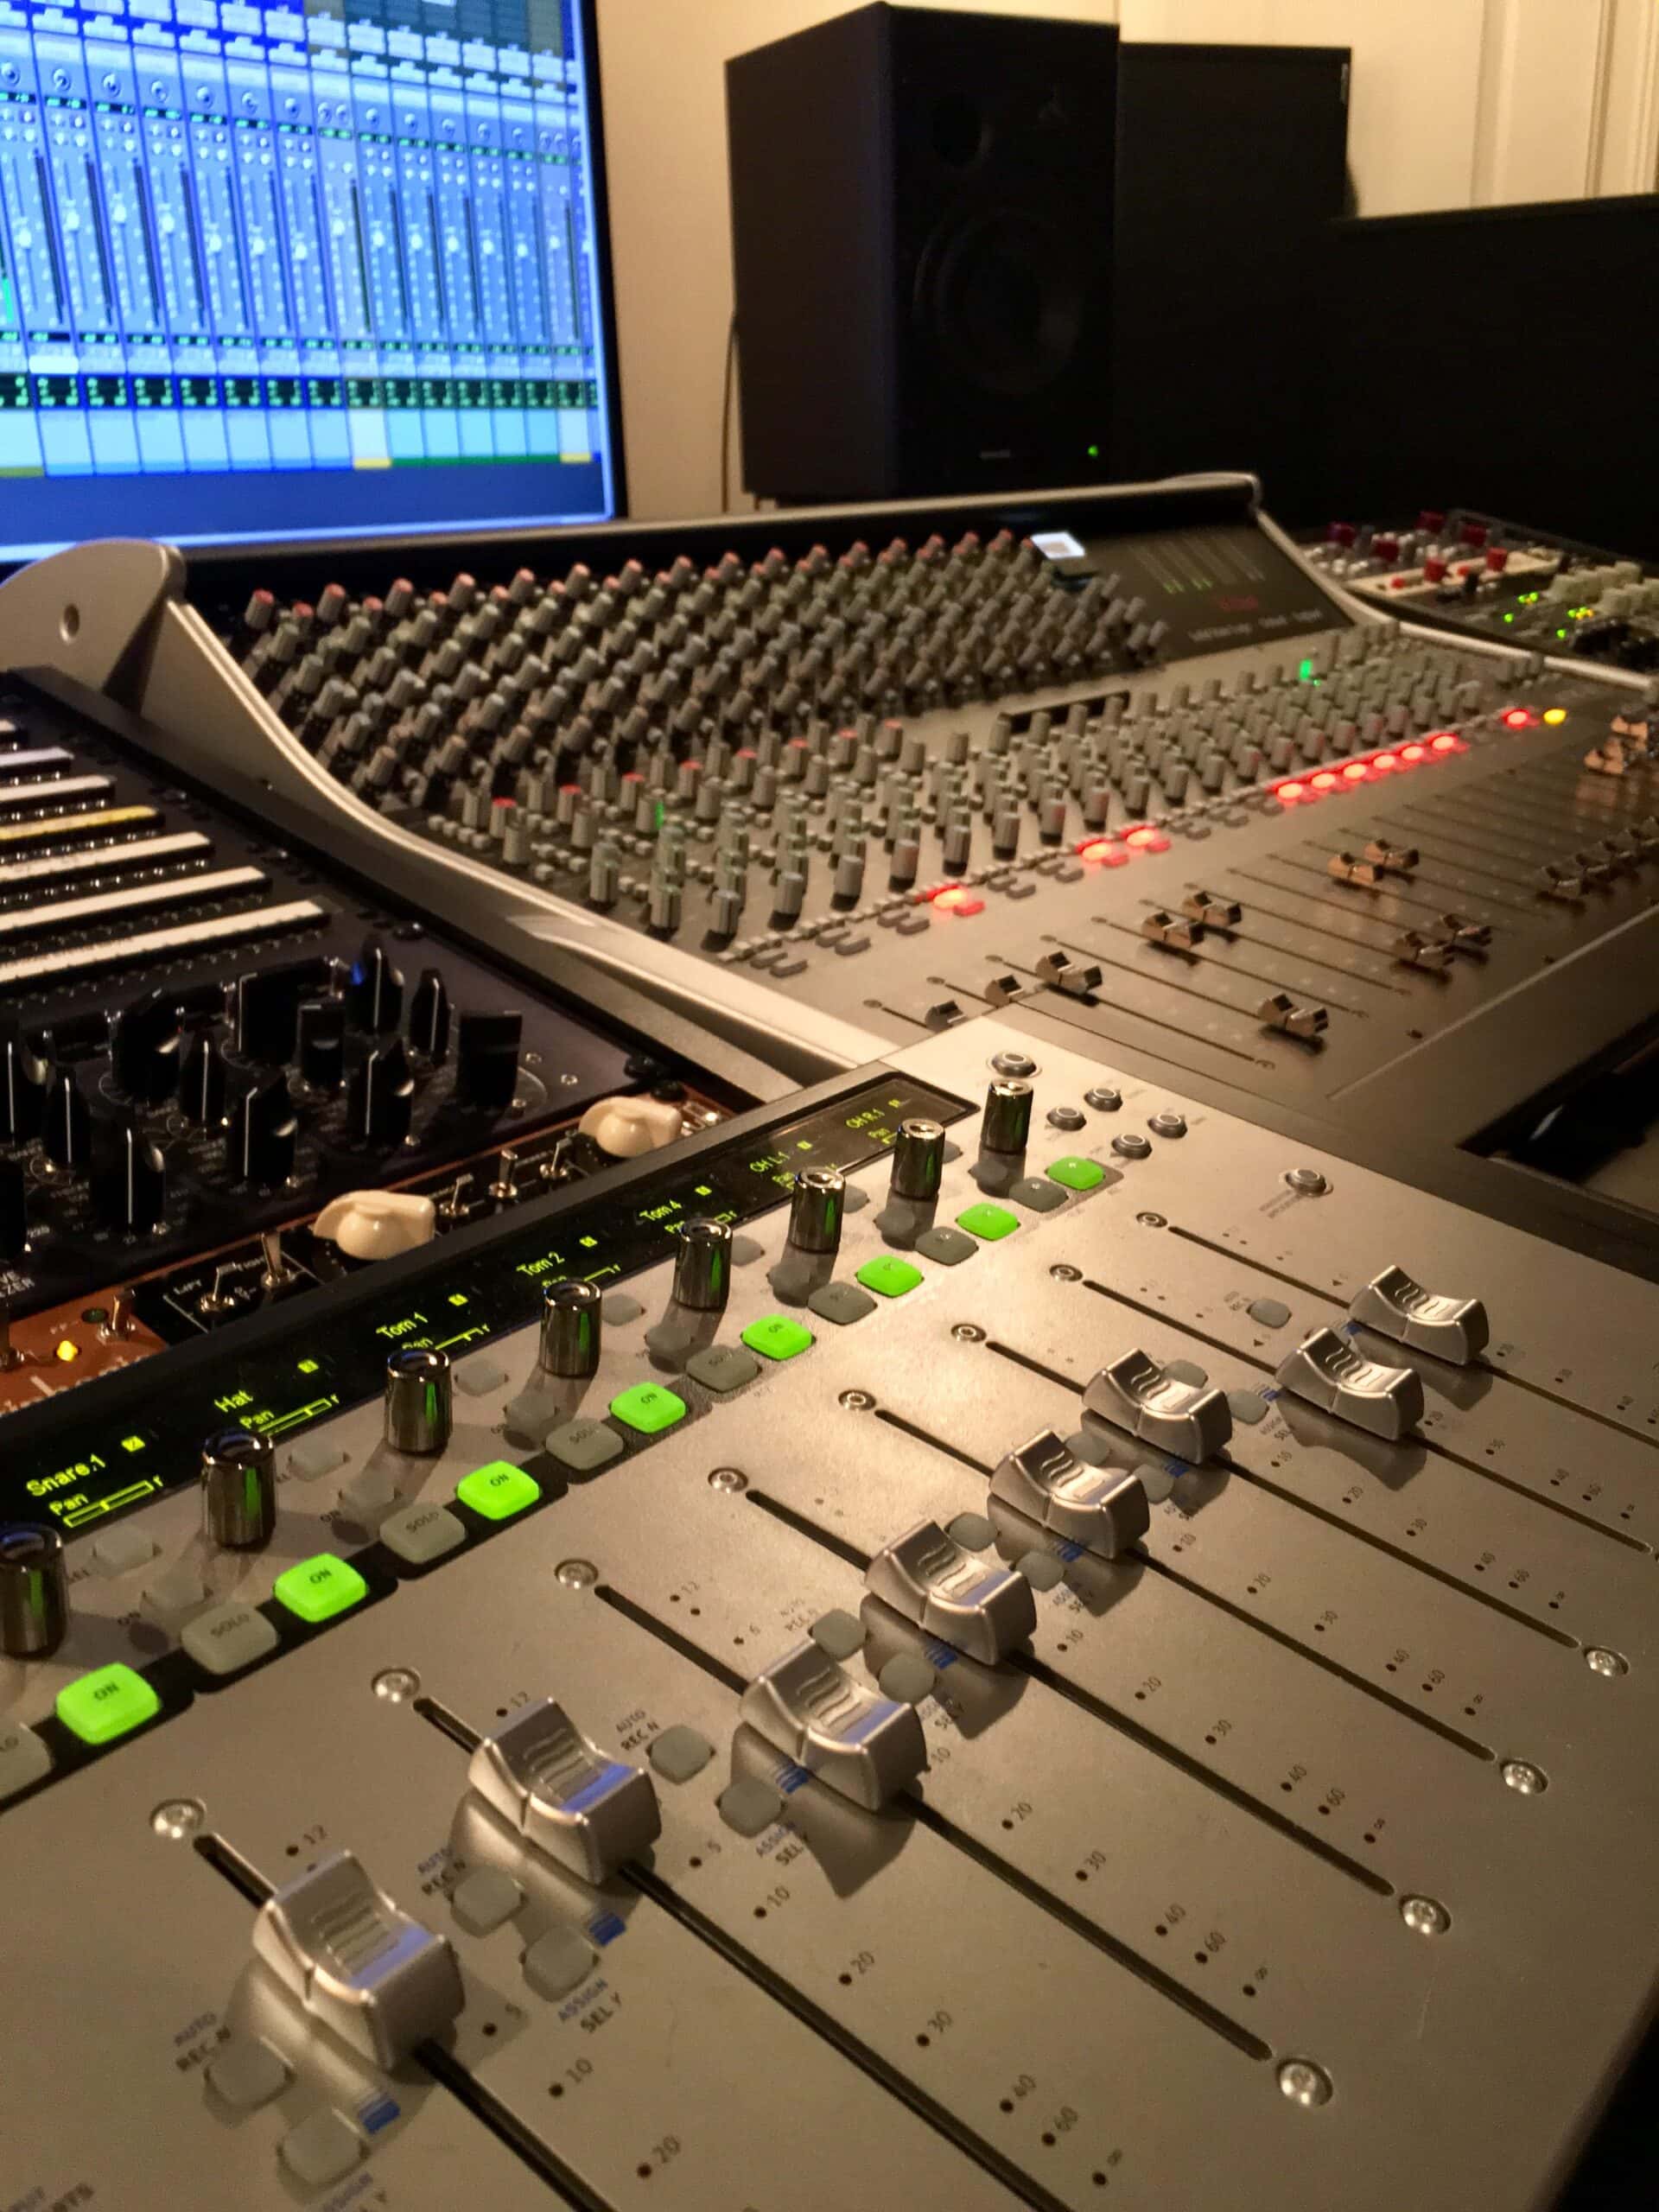
All the IEC Power Cables have been installed and everything is powered up. Above is a shot looking through the Sterling Modular Desk Below
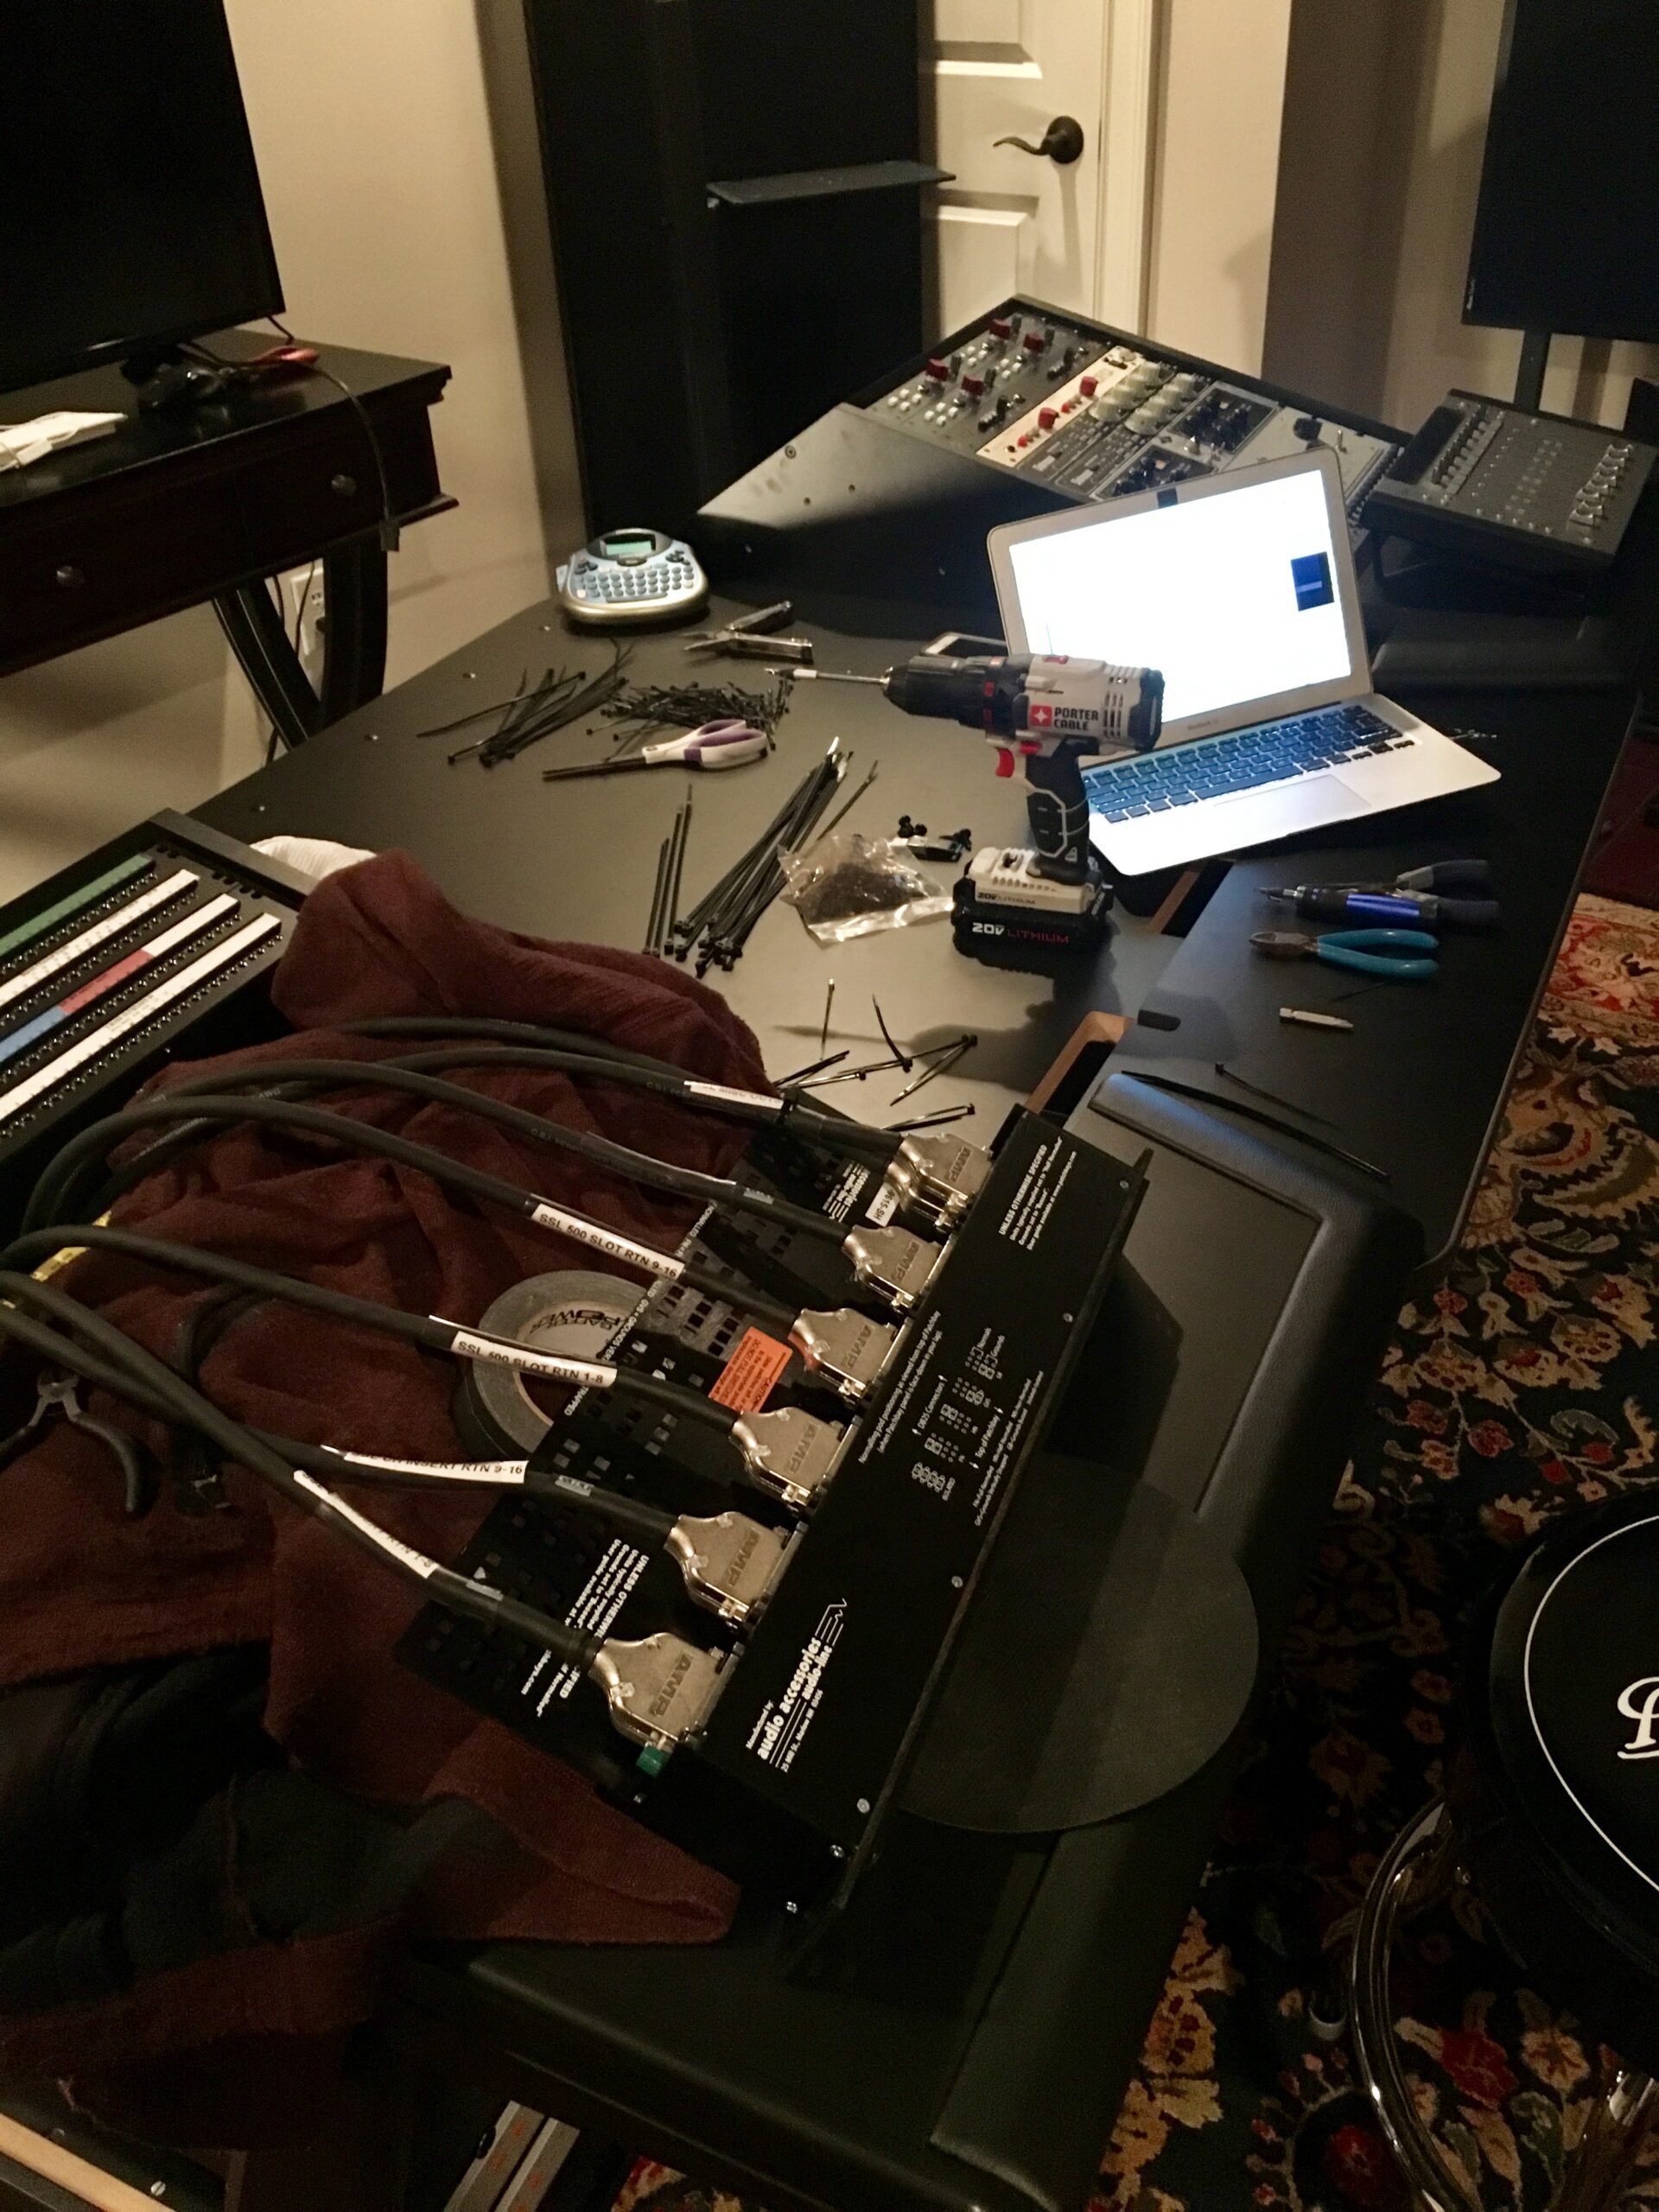
Let's Talk Cabling...

Above is a picture of the DB25 Cabling we built for the installation.
The wire we used on this particular installation was a Belden 8 Pair with Hand-Soldered AMP DB25 Connectors (No crimping).
We built a total of (27) DB25 to DB25 to cover just the SSL XL-Desk I/O
We additionally built multiple:
- DB25 to DB25
- DB25 to XLR (M)
- DB25- XLR (F)
- DB25 – TRS 1/4″
to cover all remaining outboard, converters, pres…etc…
Once again, you can see the cables labeled near the heat shrink…this was all done pre-install at our shop to save on time on site.
Also, in this picture above, you can get a better idea of how the normalling and ground switches options are displayed on the Audio Accessories DB25 patchbay.

In the picture above, you can see the white switches that allow you to change all normaling and grounding on the Audio Accessories Bays.
Also, you can see the “Tie Down” bar on the rear of the Audio Accessories Patchbay. Always make sure to strap down your cables here. They prevent excessive pulling on the DB25 connectors once the patchbays are racked up and mounted vertically.
And a couple of hours later....
Cabling has been installed to all outboard gear including mic pres, outboard Eq/Compression, Converters, Patchbays...etc
Above: Left Rack Rear Wiring
Above: Right Rack Rear Wiring
Above: This is the behind the center of the Sterling Modular desk. The above cabling is for the SSL XL Desk. The SSL XL Desk is not yet in place. The plan was to wire up everything then slide the sterling desk back before placing the SSL XL Desk in the enclosure (the reason for this is on this particular install I did not have much room behind the console to work with)
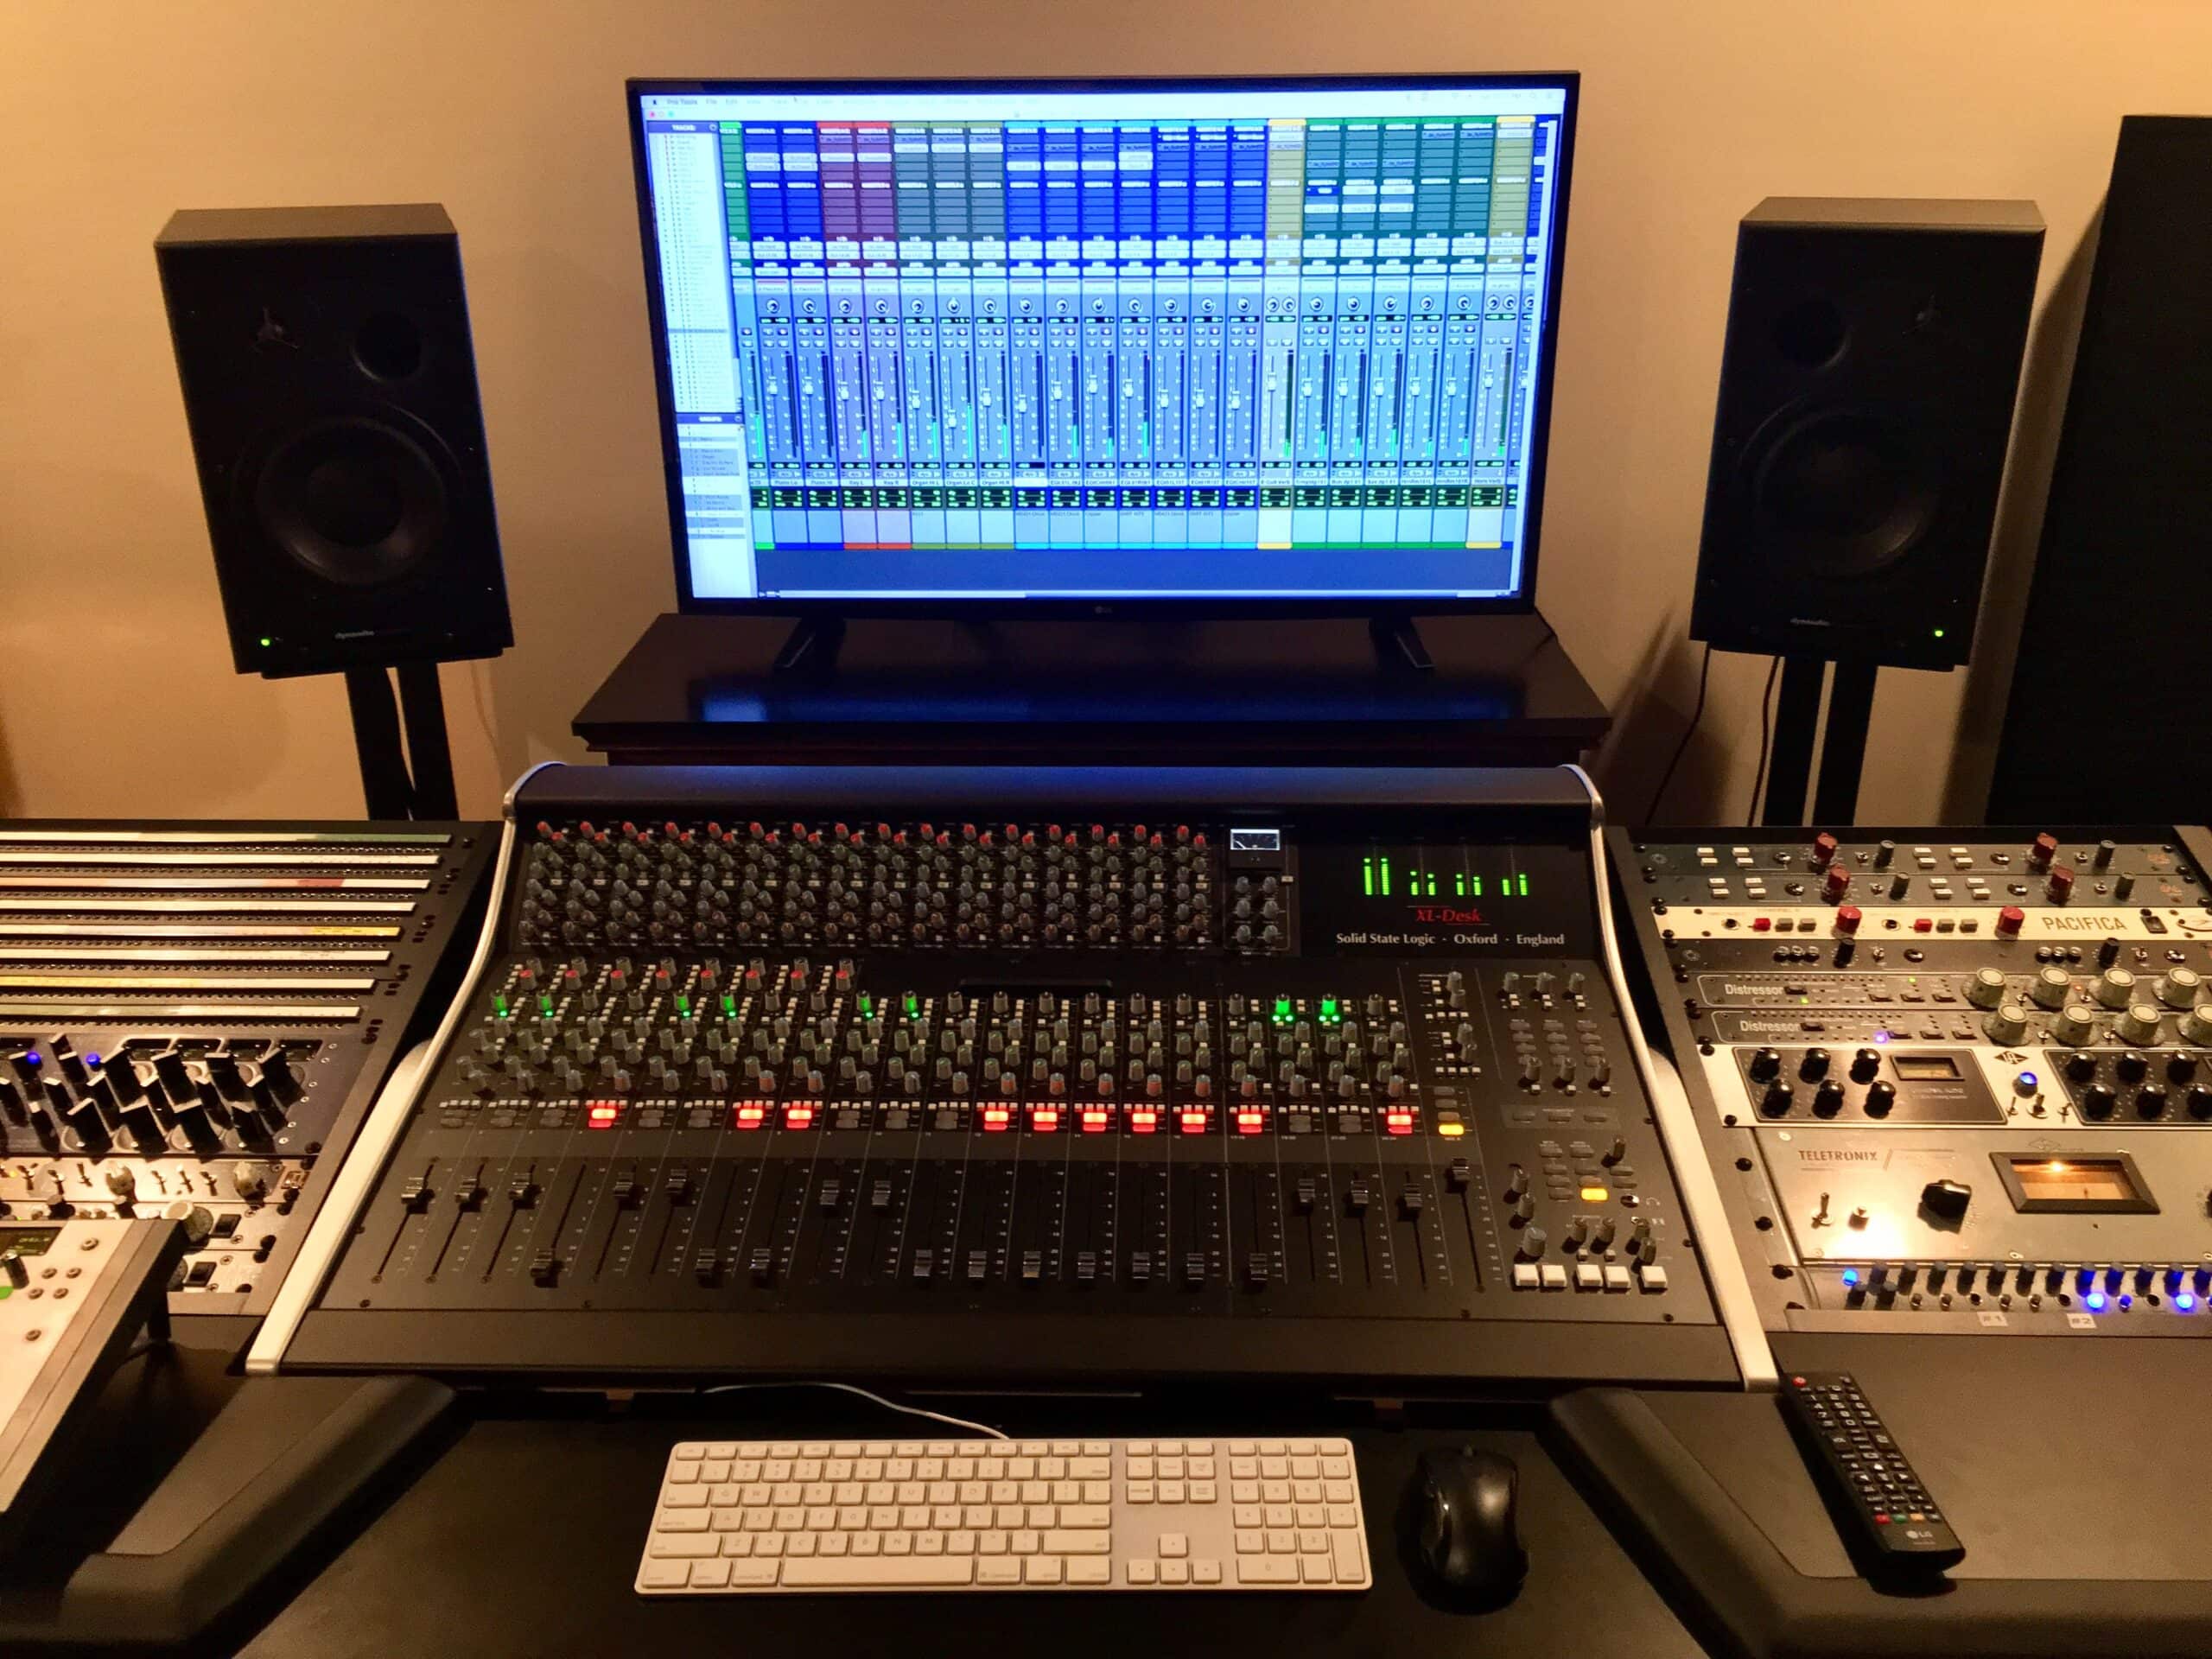
Installing the SSL XL Desk

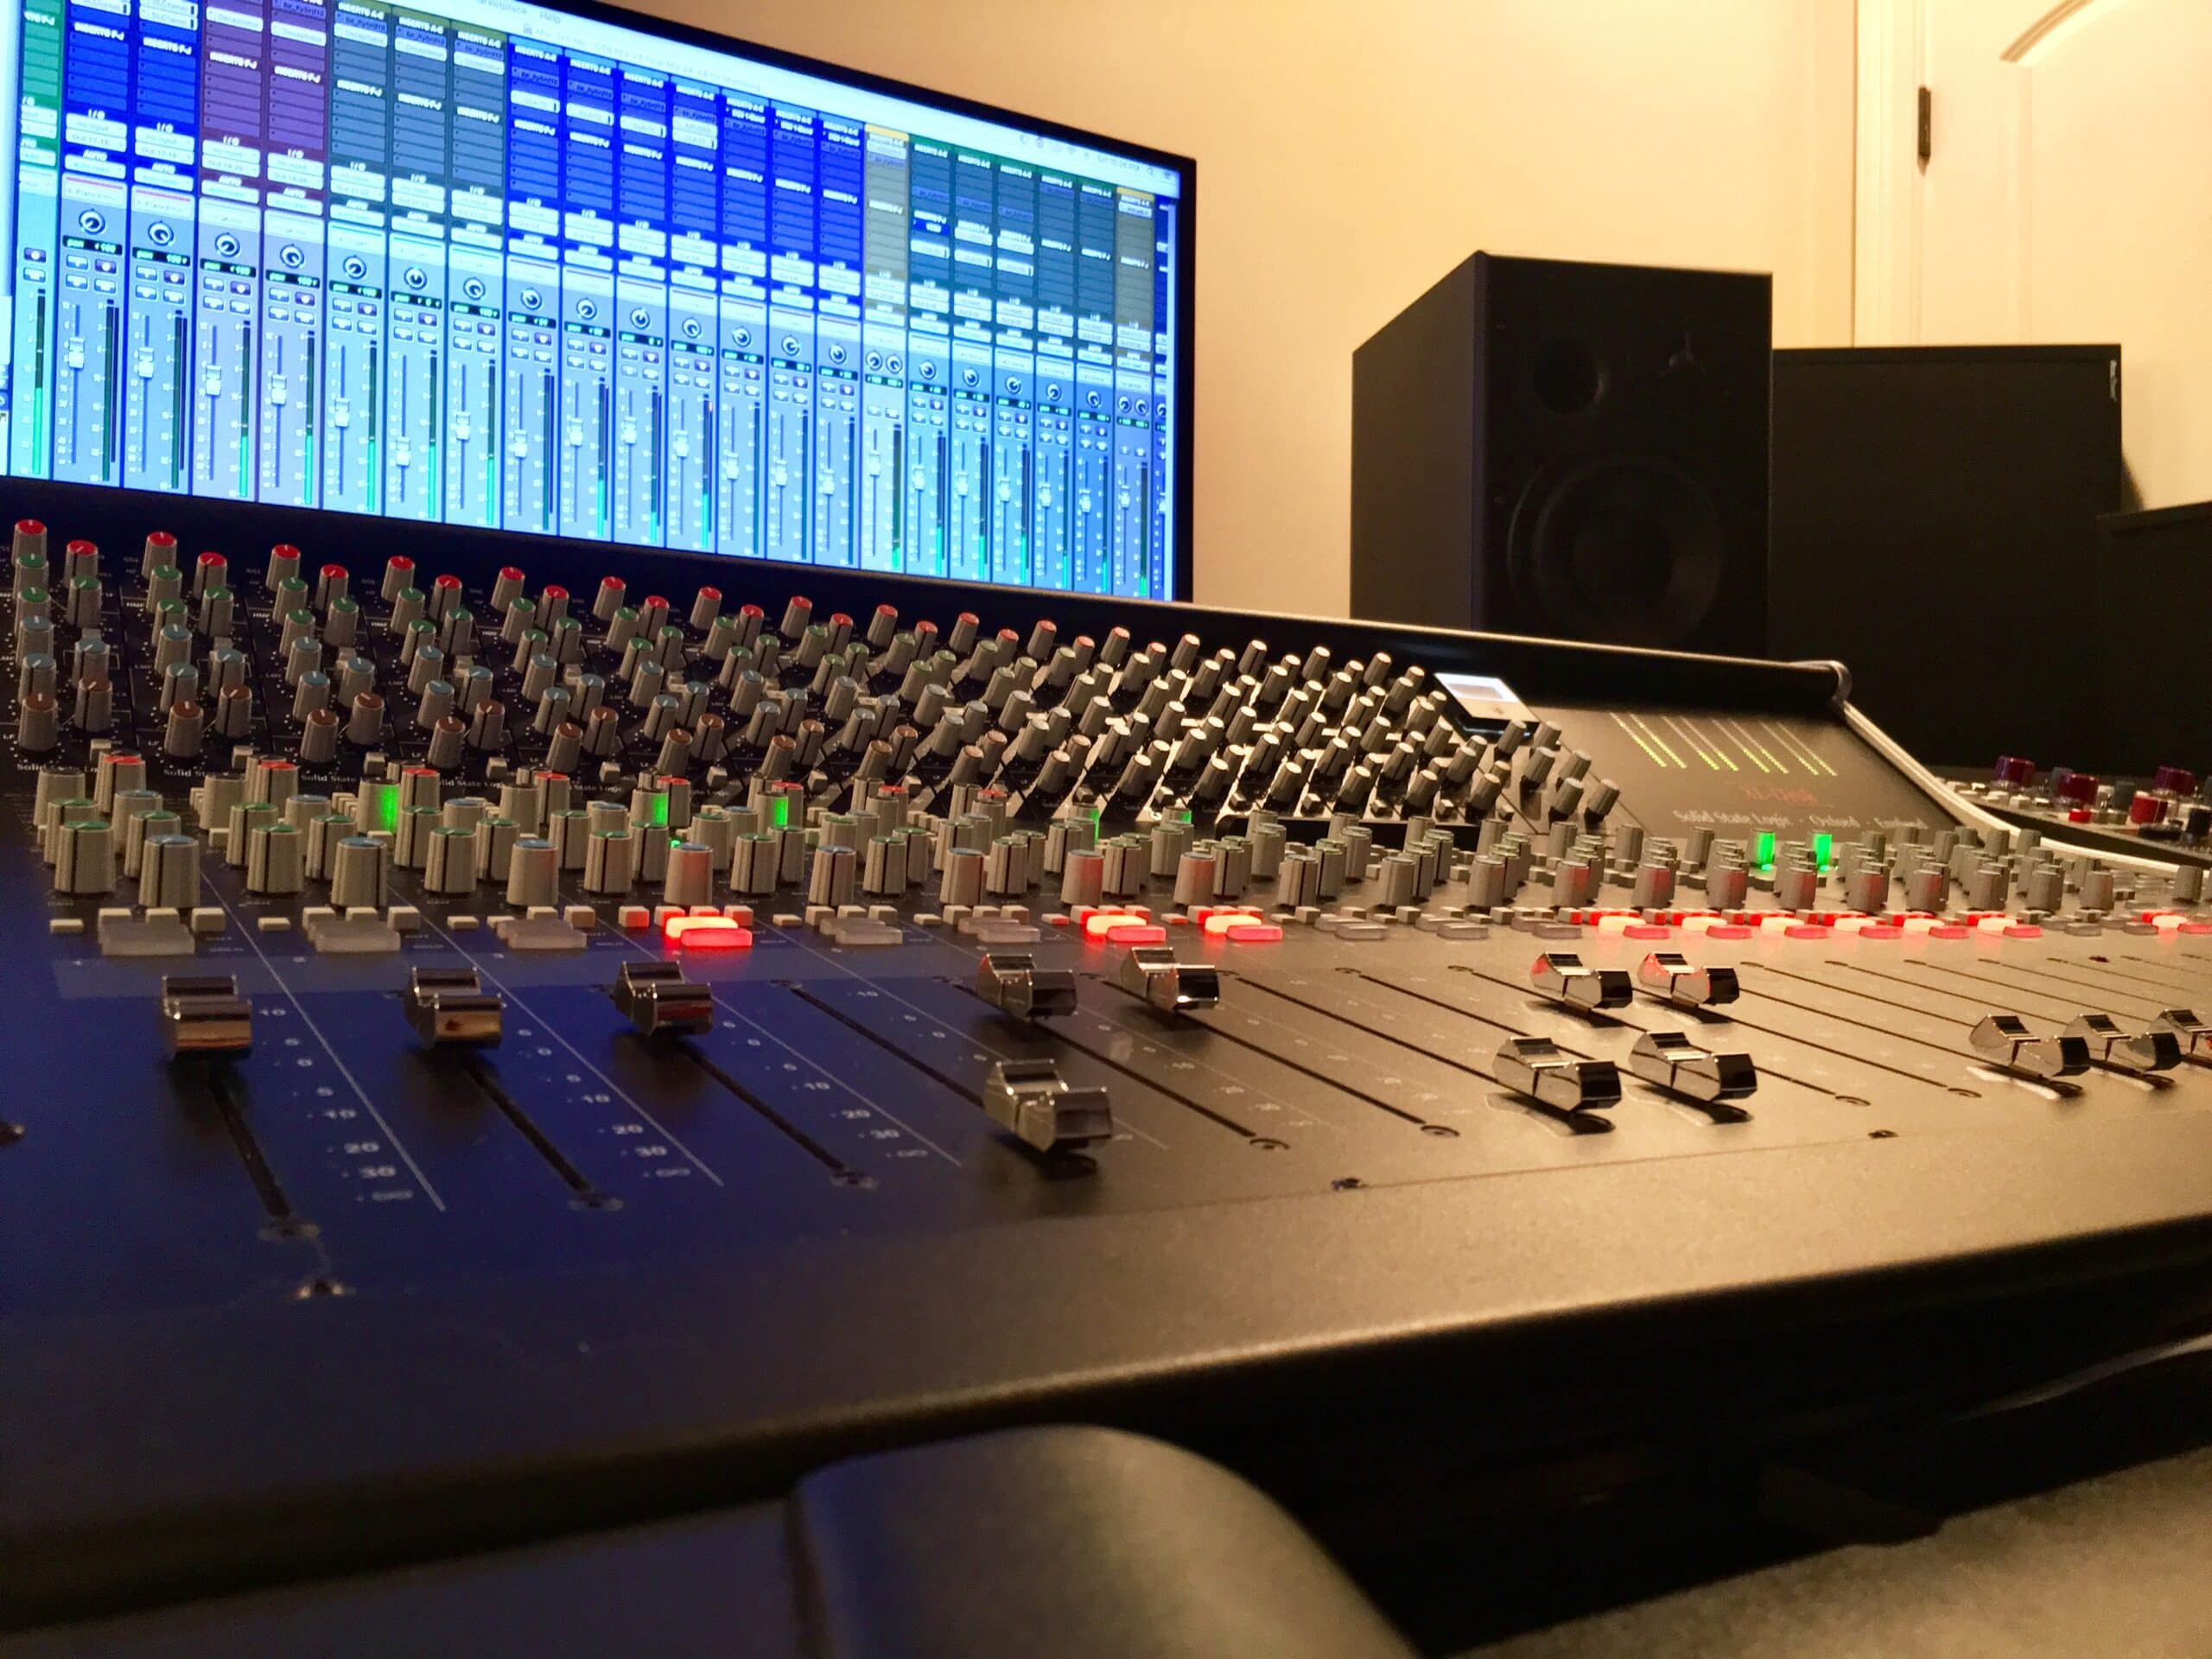
The SSL XL Desk ships directly from England via freight and ships tightly packed in a wood crate. This version of the SSL XL Desk is fully loaded which means the 500 Series slots come pre-loaded with (16) SSL 611EQ E Series Eqs.

The rear of the SSL XL Desk is all DB25 connectors except for the Main Monitors Out XLR (M) L/R and Listen to Mic In XLR (F)
It’s a straightforward process screwing in the DB25s to the rear of the SSL console…takes about 30 minutes to an hour. Our DB25s require a small flat head screwdriver…
* I would recommend mounting a flat head to a slow speed drill makes the job go a little quicker.
The Final Step - Pro Tools 12 and Lynx Converters
So the customer had an existing 2012 Mac Pro/32GB of Ram/Standard SATA HD 7,200 Drive with a 16 Channel Lynx Aurora Converter running a Lynx AES16e PCIe express card we had sold them a couple of years back.
Basically, a 16 Channel Lynx I/0 System running Pro Tools 10
I installed an additional:
- Lynx Aurora 16
- Lynx AES16e PCIe Express Card
- (2) AES1605 Cables
So we now have a 32 Channel I/O Lynx Aurora PCIe Express system. This should be more than enough ins and outs to cover the customer’s needs.


Software Install and Upgrade
We upgrade from Avid Pro Tools 10 to Pro Tools 12.6.1.
We installed a fresh copy of El Capitan Mac OSX 11.6 on a fresh OWC Mercury Extreme Pro 6G 1TB SSD.
We also added the following Plug-In Bundles to the new system:
- Waves Mercury Bundle V9
- SoundToys 5 Bundle
- Altiverb 7
- McDSP Channel Strip
And That's A Wrap...
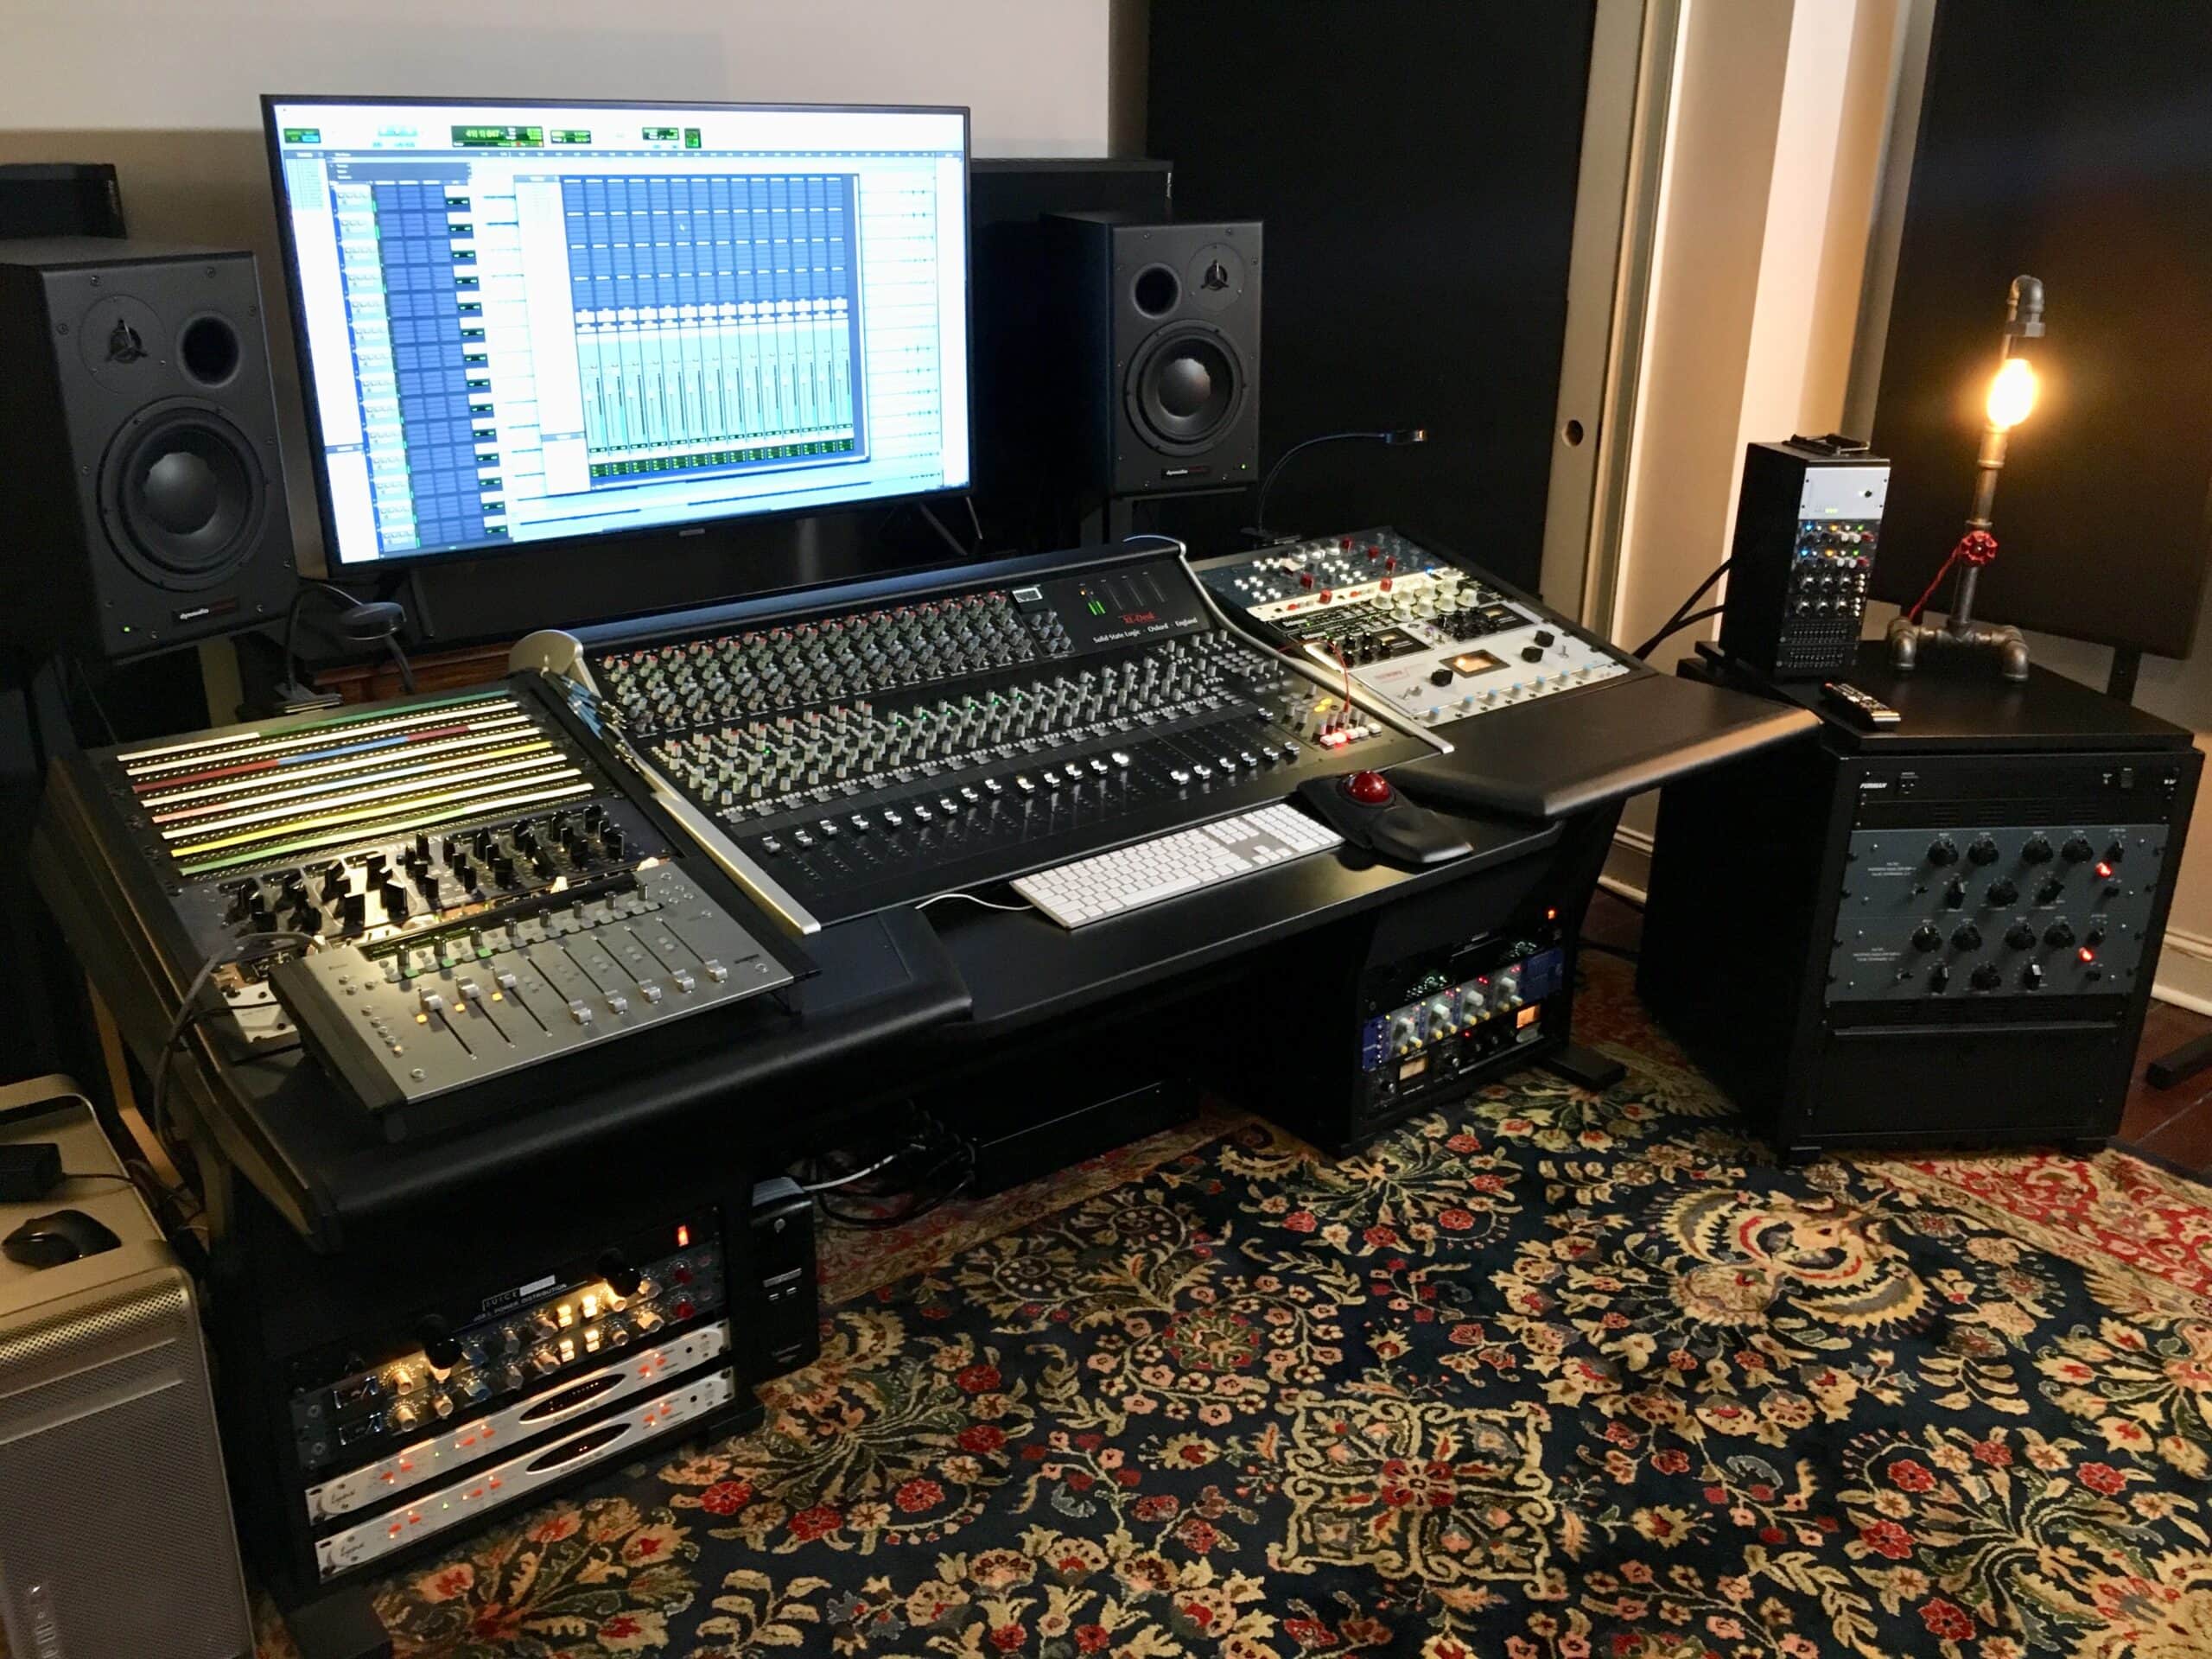
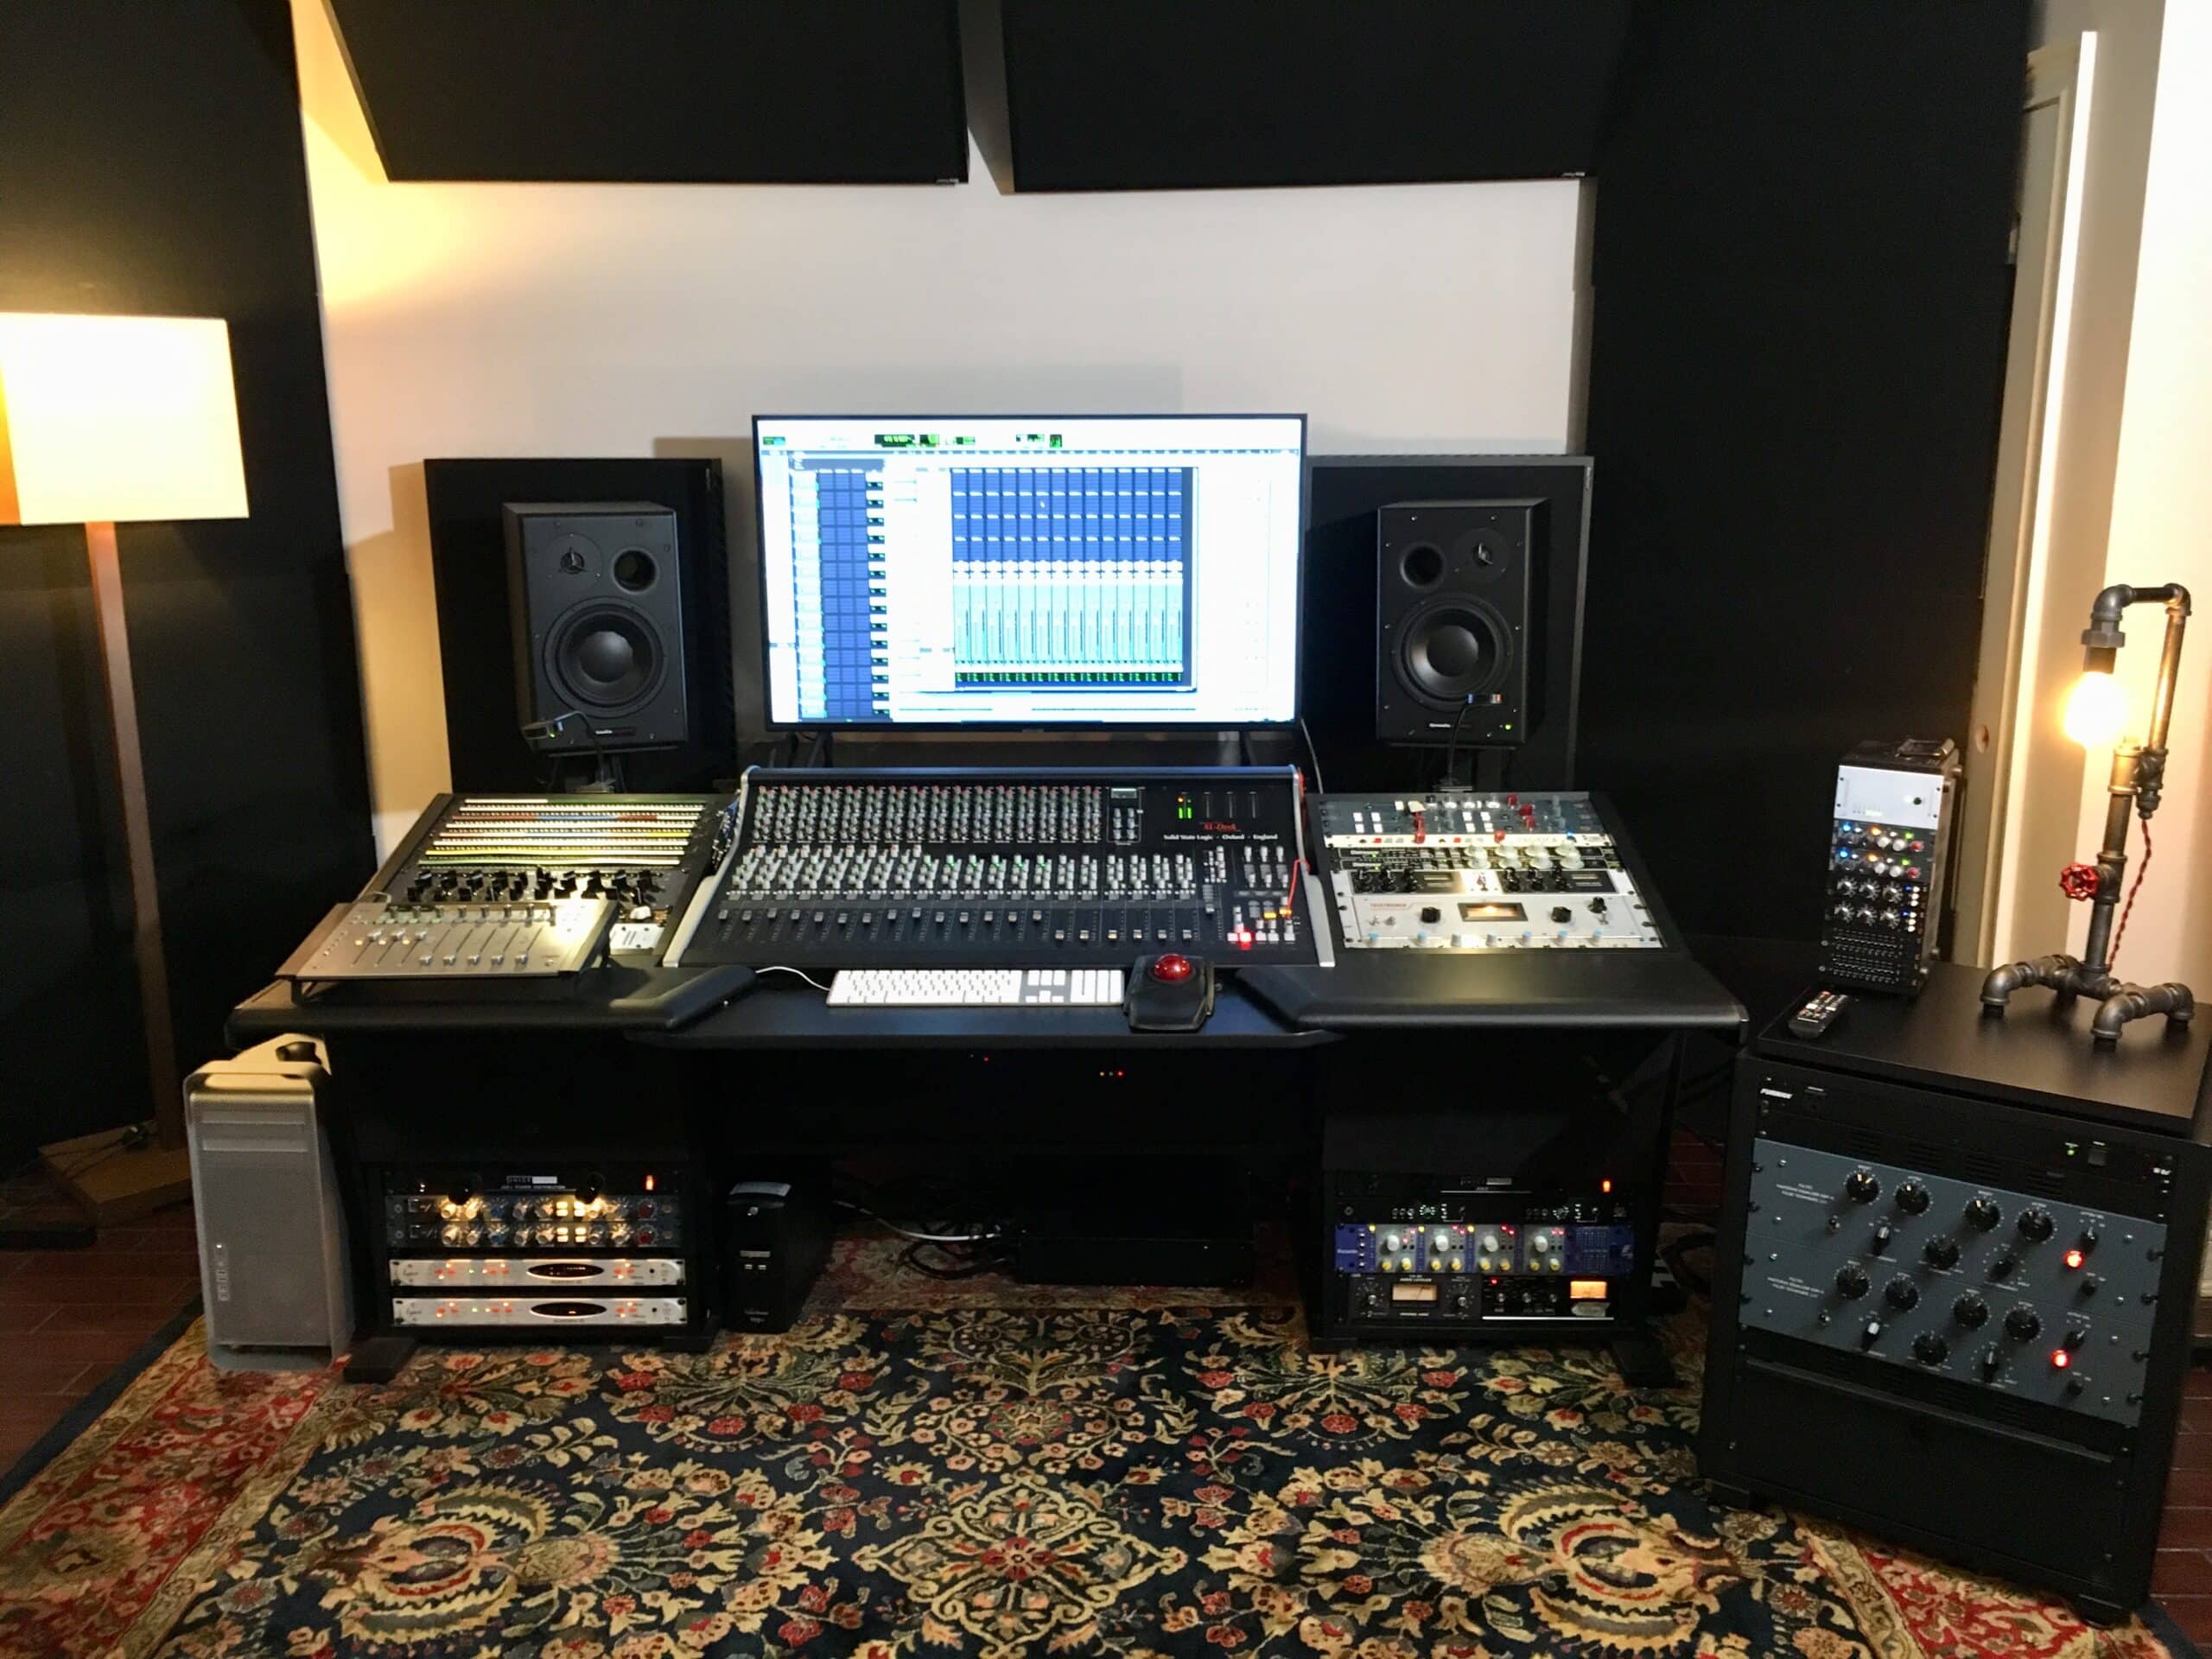
There is plenty of line/patchbay testing to do before I take off but for the most part the system is installed and ready to go!
Here comes some pictures…Enjoy!
Thanks for stopping by to check our blog and store. Feel free to always reach out to us if you need advice. If you do have questions about this particular installation or the gear we sell/used in this install free feel to drop us a line.
Contact David Arnold at [email protected], or use the form below!
Featured Gear
-

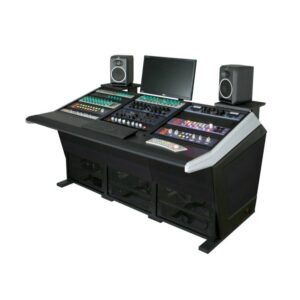
Sterling Modular Plan B
Call for PriceAdd to WishlistAlready In WishlistCall for PriceAdd to Wishlist -
SSL XL-Desk, loaded with 16x EQ modules
Call for PriceAdd to WishlistAlready In WishlistCall for PriceAdd to Wishlist -
Universal Audio 1176LN Classic Limiting Amplifier
$2,599.00Add to WishlistAlready In WishlistAdd to cartAdd to Wishlist -
New
Manley Massive Passive Stereo EQ
$6,999.00Add to WishlistAlready In WishlistAdd to cartAdd to Wishlist -
Empirical Labs EL! Lil FrEQ
$2,499.00Add to WishlistAlready In WishlistAdd to cartAdd to Wishlist -
BAE 1073MP Dual-Channel Mic Preamp w/ PSU
$2,295.00Add to WishlistAlready In WishlistAdd to cartAdd to Wishlist
More Like This Post


Finance Your Dolby Atmos Room with All Media Capital
Learn MoreOur LA Showroom has Moved!
Learn More